
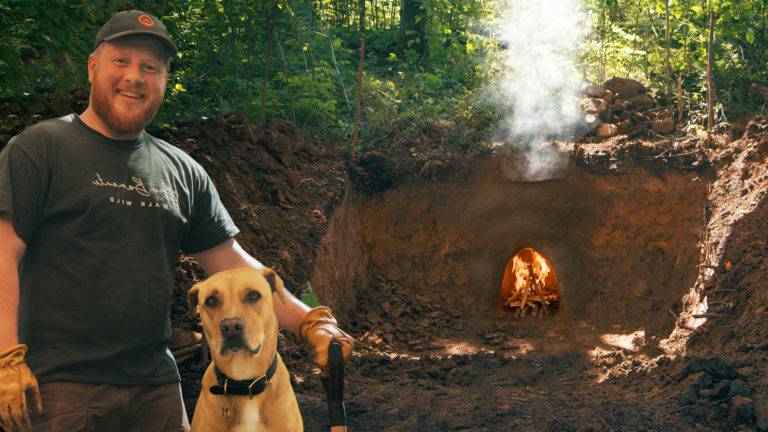
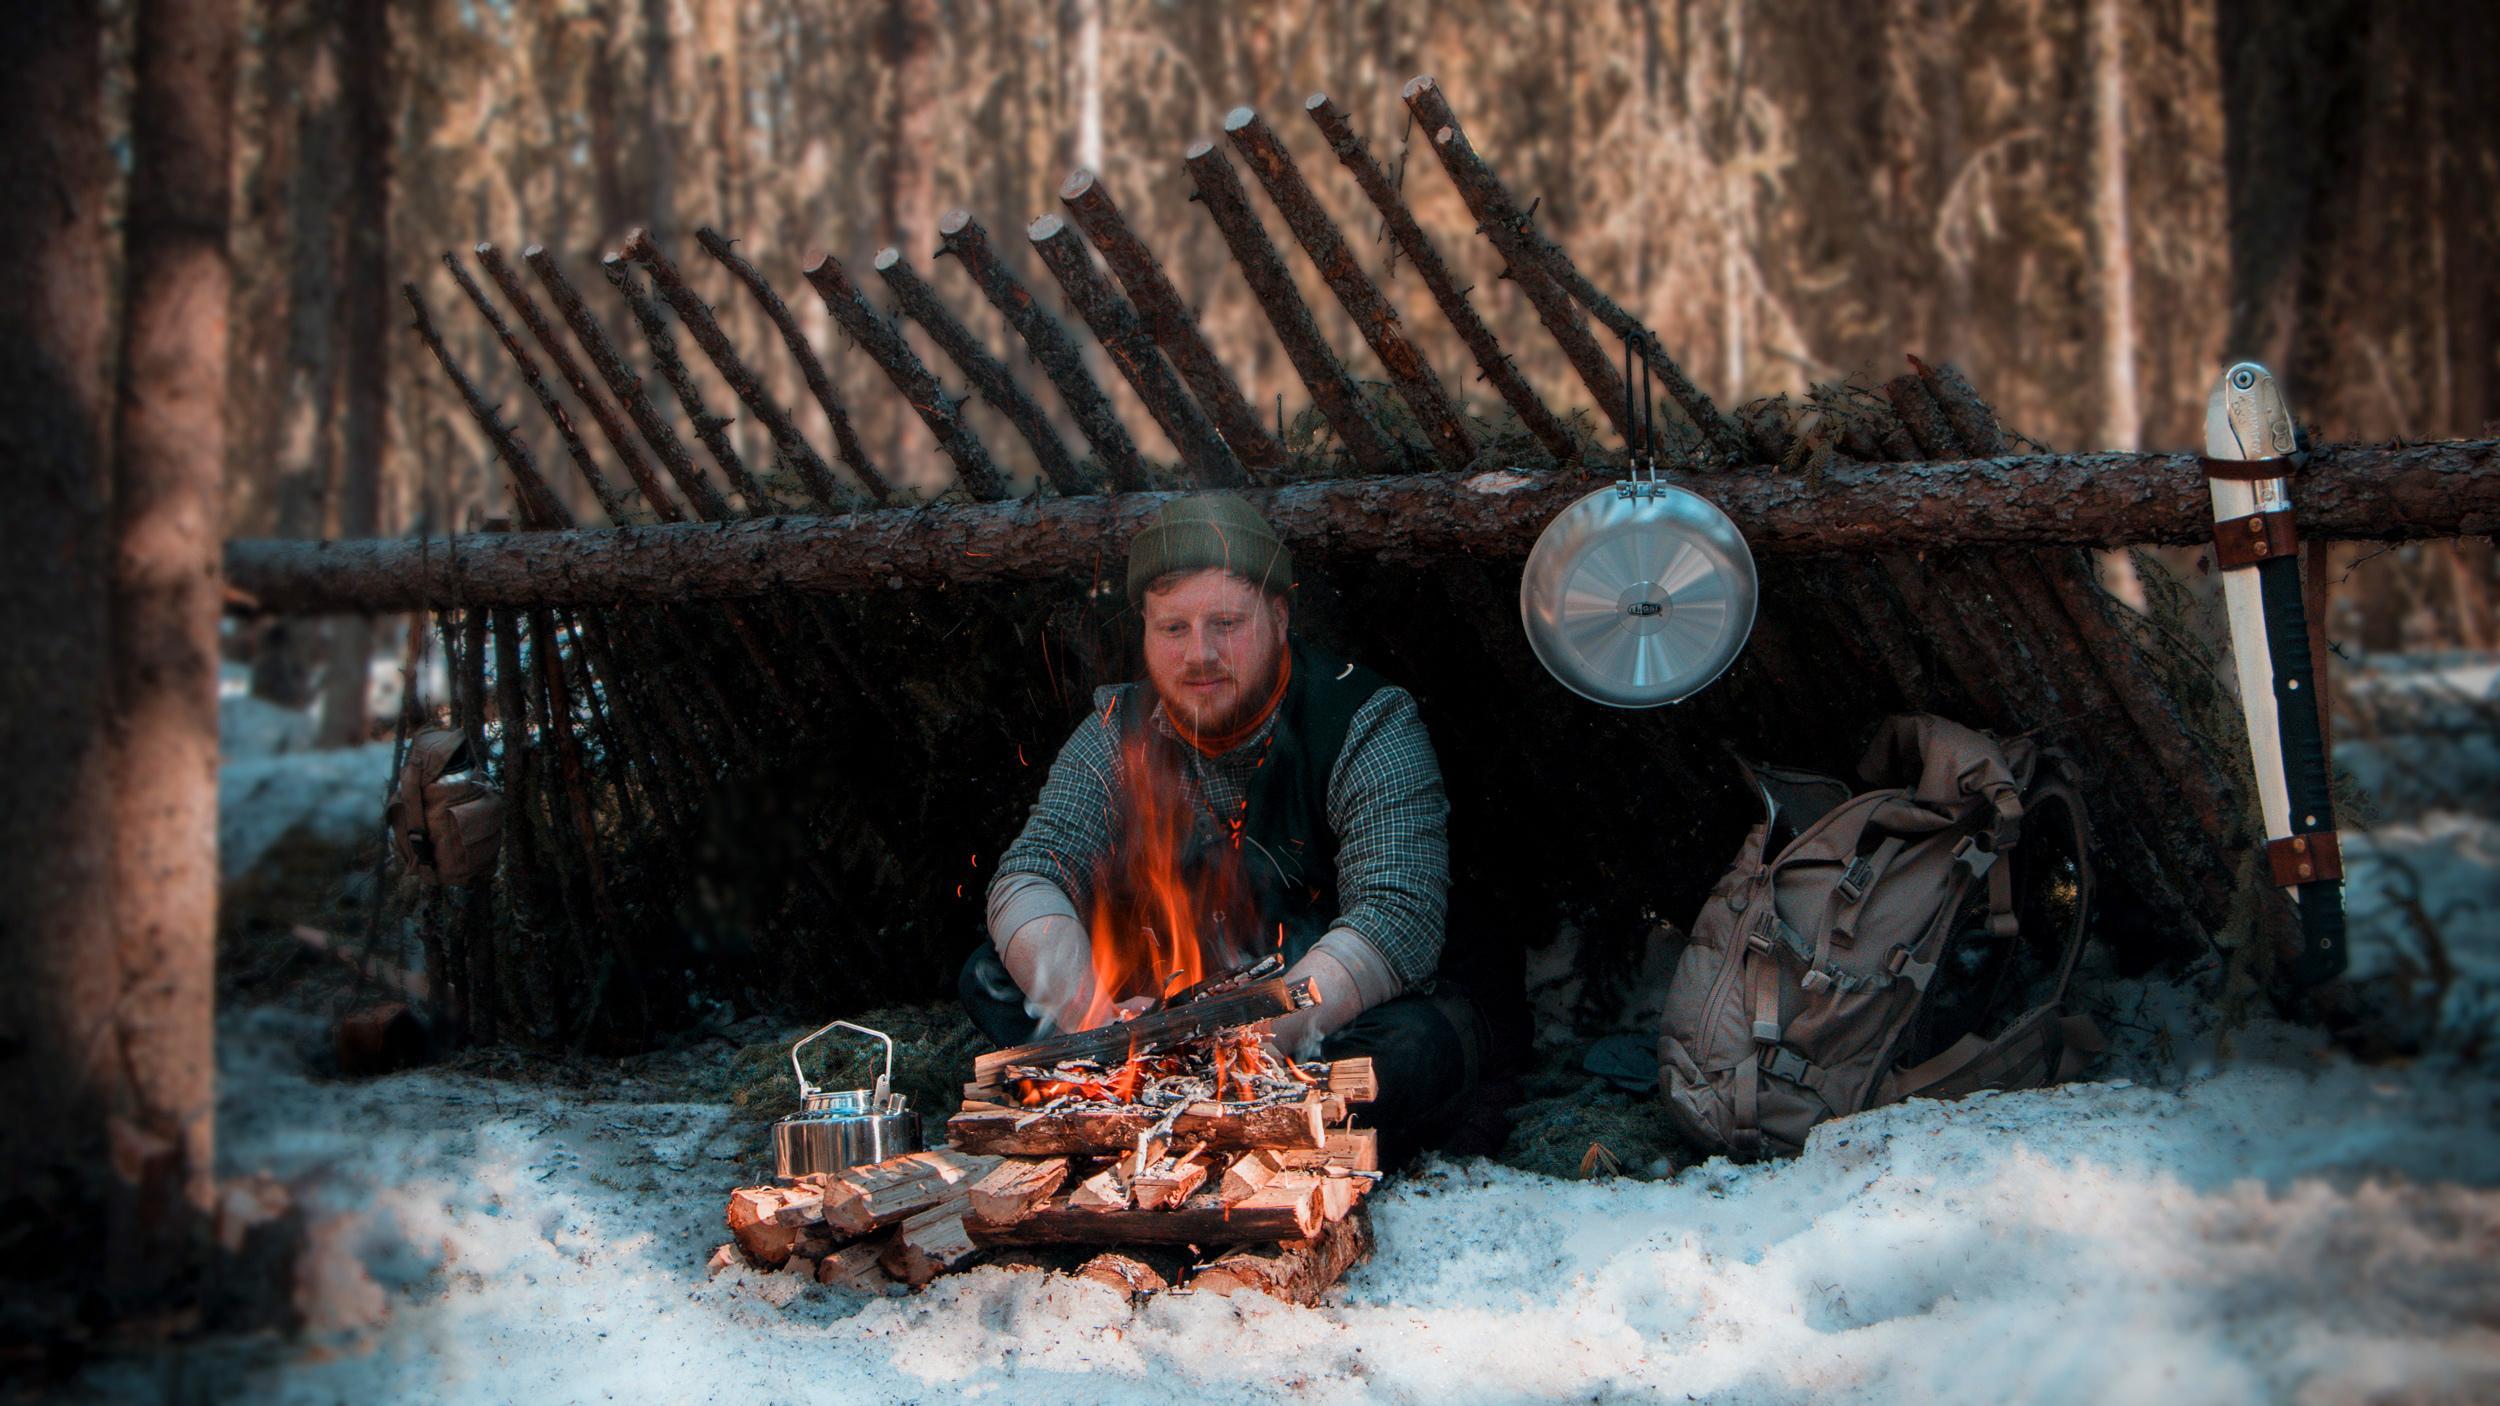
Dugout Shelter – Clay Fireplace – Walk Wild Bushcraft Basecamp
What was the goal of this trip? In this week’s trip, we wanted to make a start on the Bushcraft Dugout shelter that we marked…
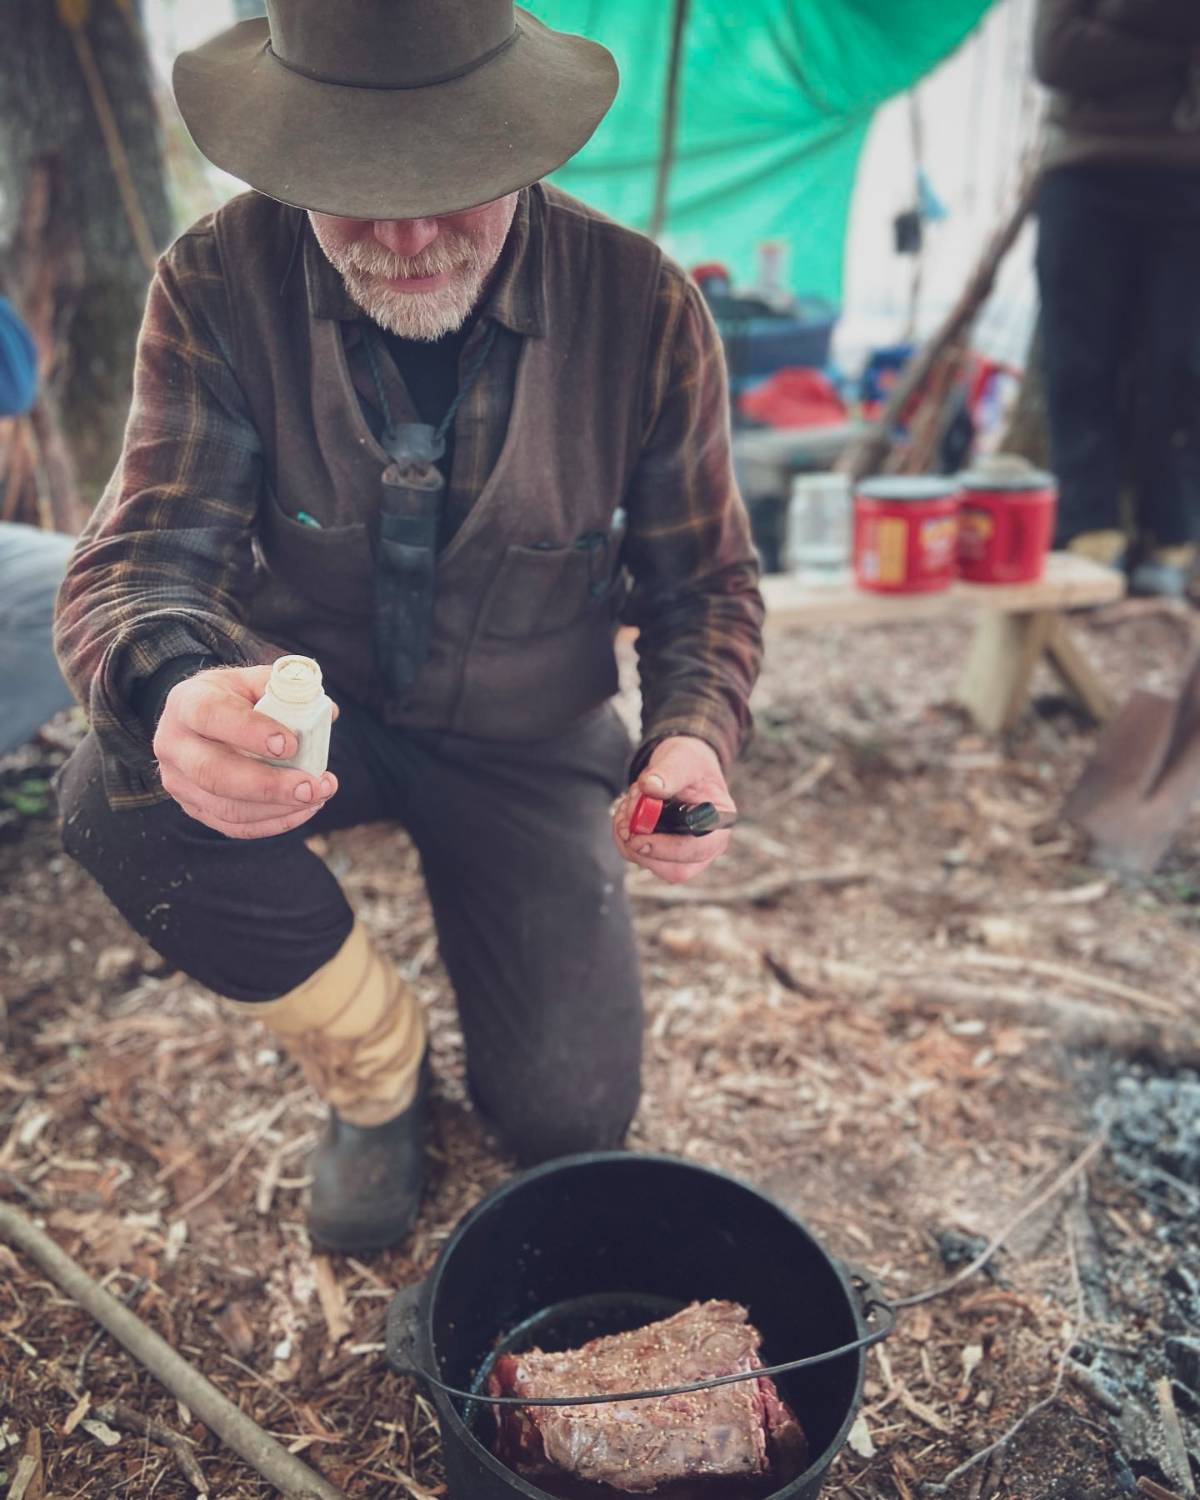
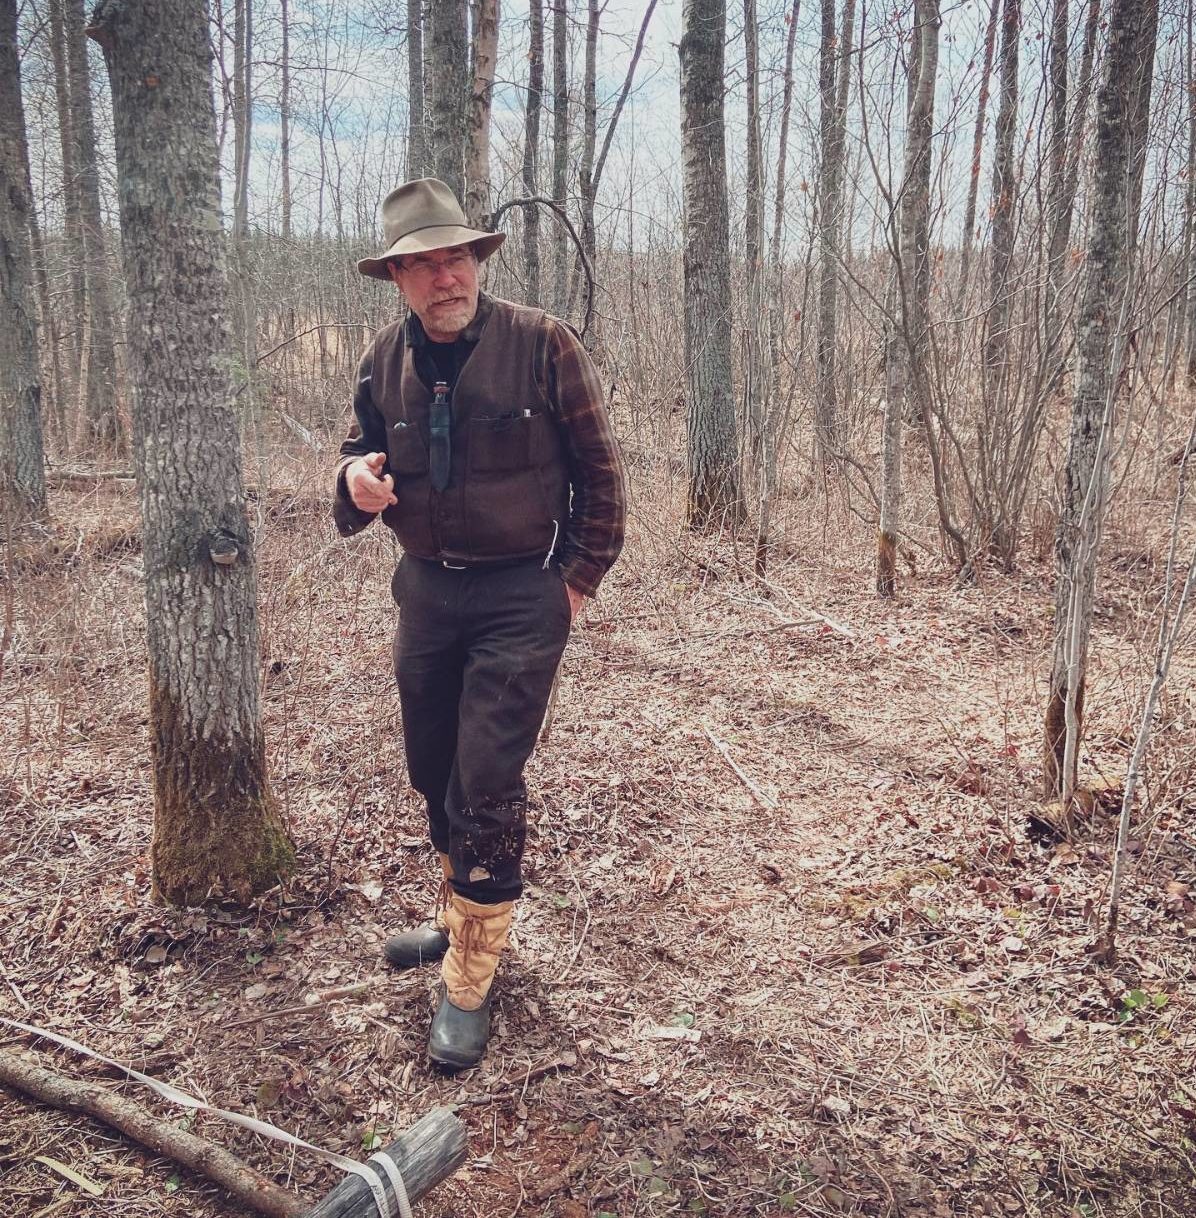
Kelly Harlton is one of Canada’s most respected outdoor wilderness skill instructors. He spent many years learning from the famous Mors Kochanski and teaches here in Alberta. The Boreal forest is his area of expertise.
His bushcraft Intensives are typically one week of intense bushcraft training, where participants learn a wide array of Bushcraft and survival techniques.
I was lucky enough to spend a week with Kelly, and here are just a few things we covered in the course.

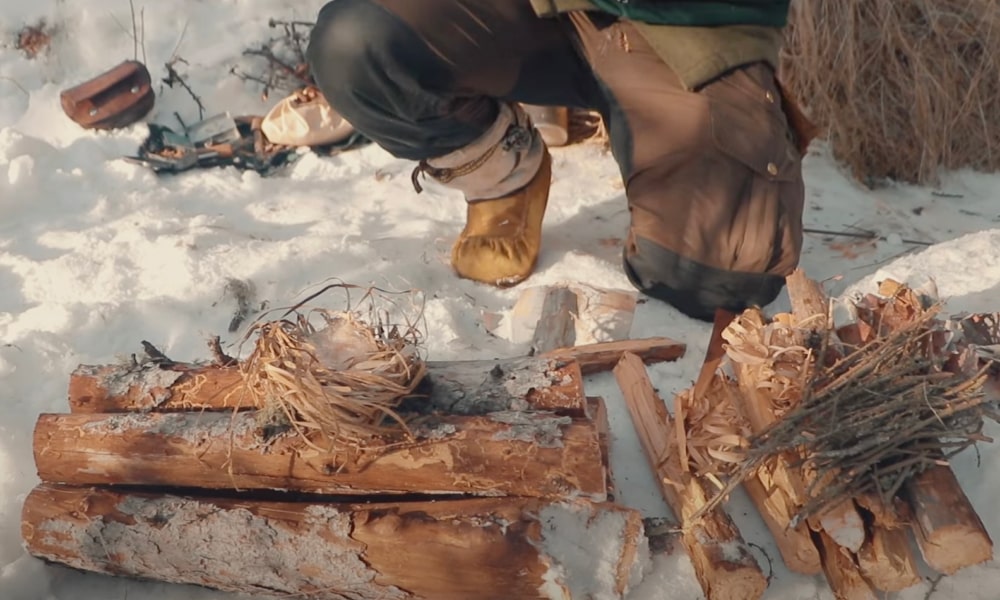
A fire lay is a term used for the design of a specific fire that you want to use. Whether it be for a long burn to make it through a cold night or for cooking, each fire can have its own merits and benefits.
One of Kelly Harlton’s favourite fire lays is the 5 log fire lay. It has the benefits of a long burn with very little maintenance required, which makes it perfect when instructing a group of people for hours at a time.
During my time with Kelly, we also covered the following fire lays:
Advertisement
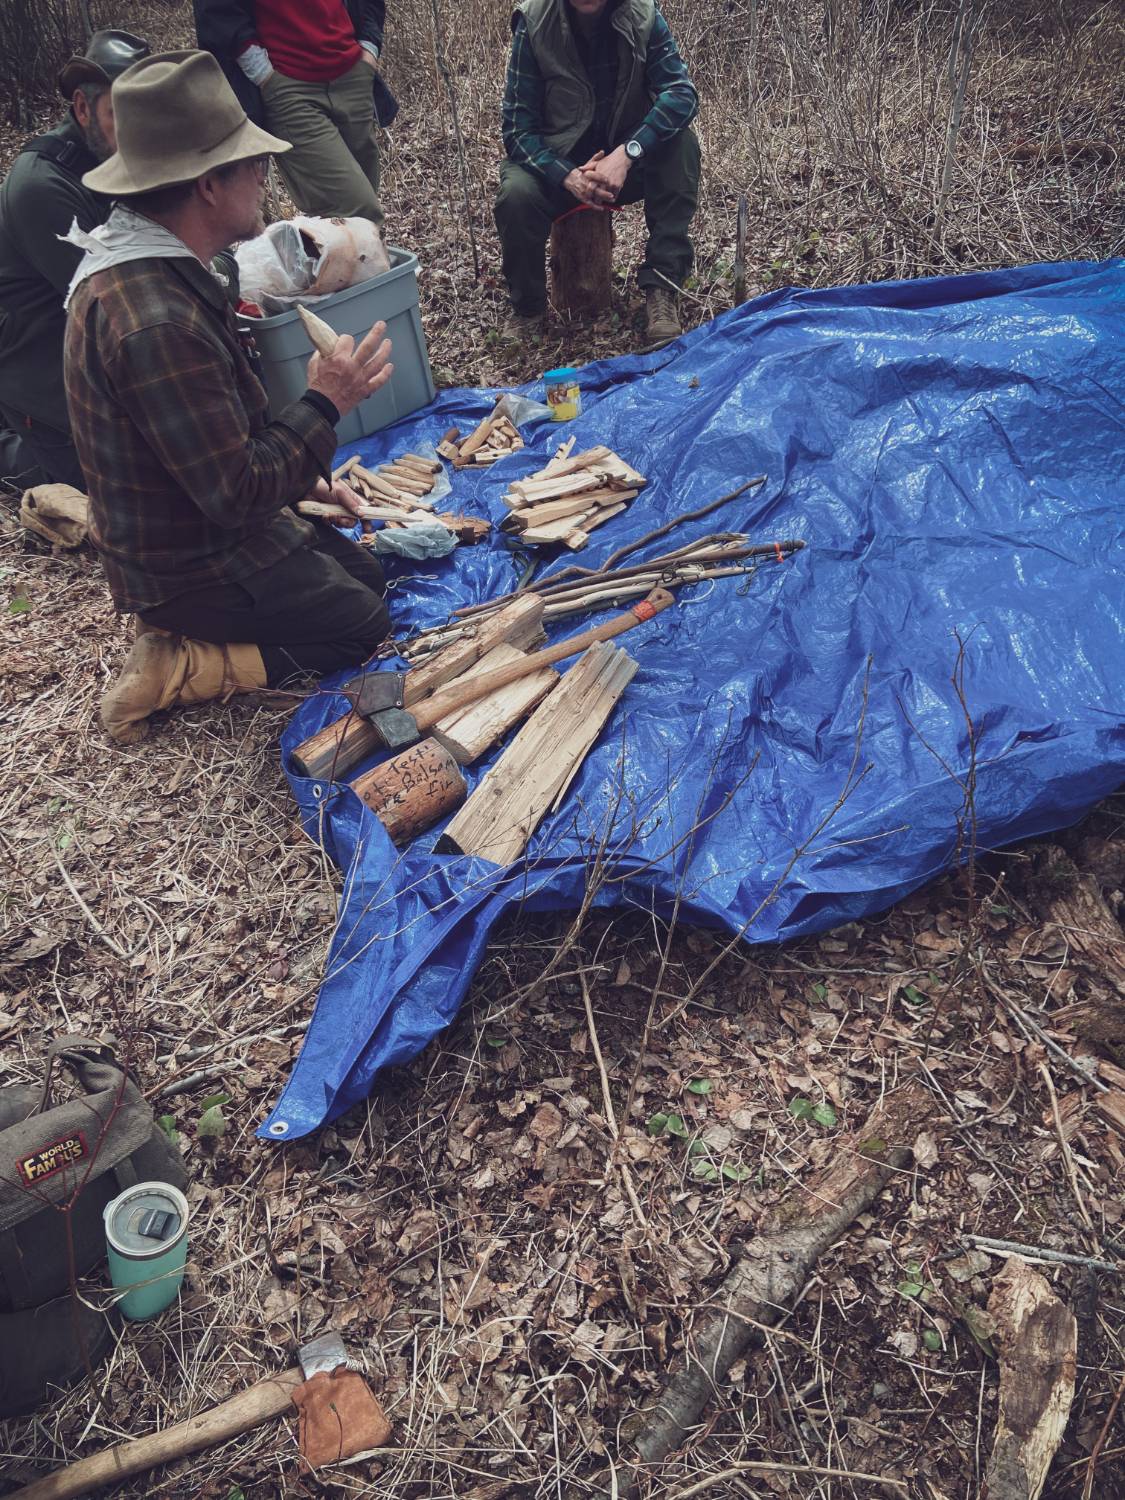
One of Kelly’s introductions to fire starting is to give every student a single paper match and have them split that match in half and use one half to light a small bundle of spruce twigs into an established fire.
This reminds the students of the importance of making sure you have everything lined up and ready before you introduce your ignition source. Once that half match is lit you have about three seconds to place it carefully under the smallest twigs of the bundle in order for them to ignite, then igniting the larger twigs above that.
This in essence is what fire-making is all about. Introducing larger materials slowly and sequentially to build a fire that will not go out.
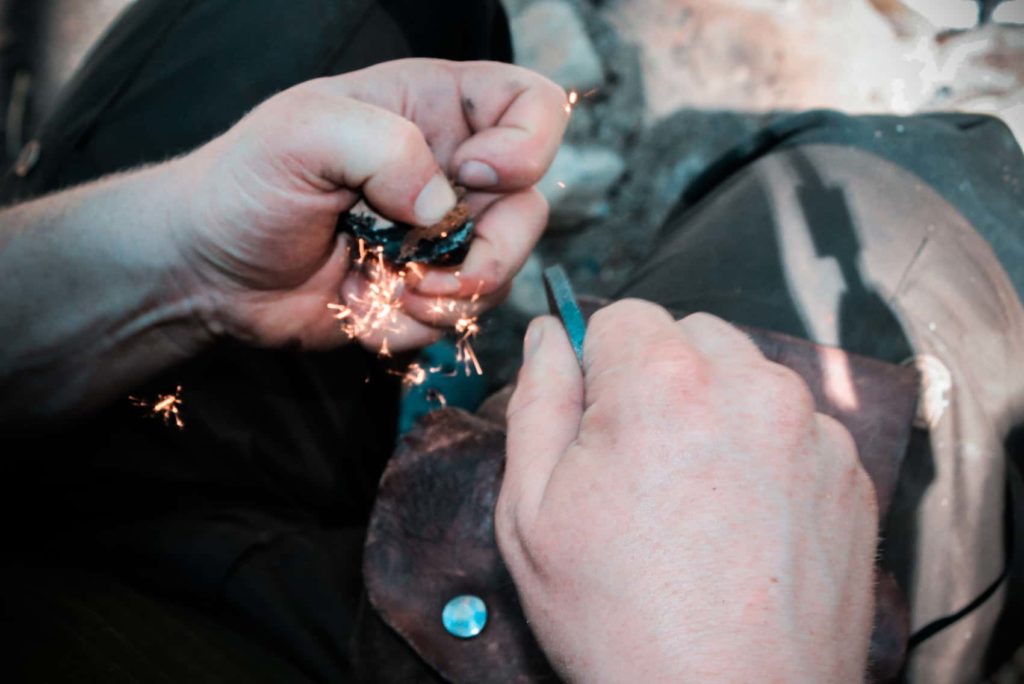
Many bushcrafters today use ferrocerium rods (or ferro rods), and this technique is commonly confused with flint and steel. In its original form, a flint and steel is just a piece of high carbon steel and a piece of flint, which is a rock that is harder than steel. Other hard rocks can be used, but flint is probably the most common and well-known.
I’ve always enjoyed making and starting fires with a traditional flint and steel, and have spent hours practising this technique over the last few years.
On this trip, I enjoyed watching the other students on the course start to master this ancient technique, and realise how much harder it is to start a fire in this primitive manner than with the extremely hot sparks that are produced from a ferrocerium rod.
Advertisement
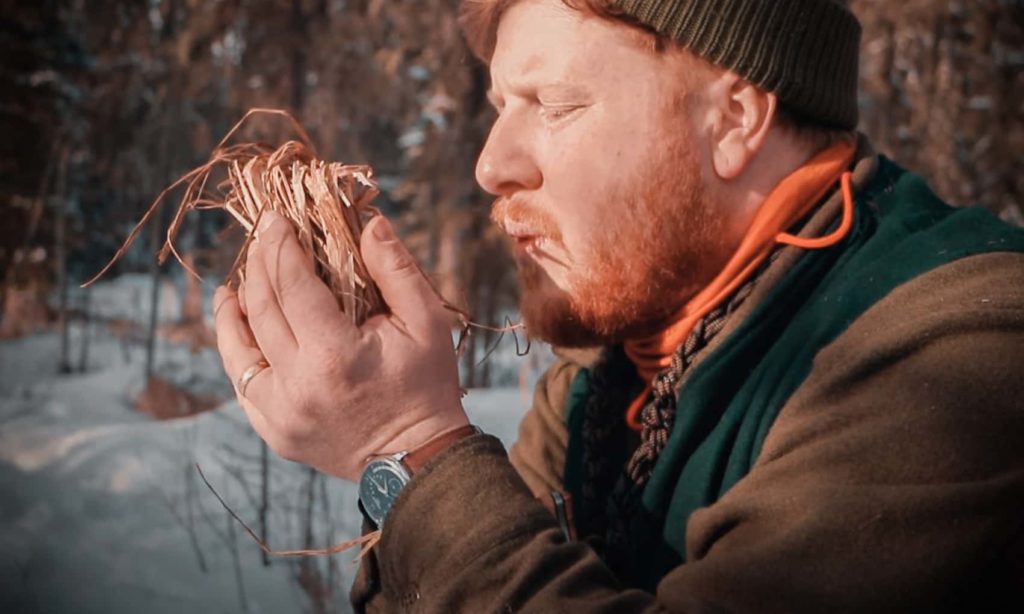
One of the highlights of the course for me was spending time learning the tricks and nuances of starting a friction-fire using a bow drill.
With Kelly’s help and his ability to see where you’re not quite getting it, every single student on the course was able to successfully create an ember with a bow drill and then light a tinder bundle on fire using said ember.
It was fascinating to hear Kelly talk about the different materials that can be used and why they work. In the past, I’ve struggled with finding the correct materials in the bush to make a fire in this manner. Now with the new knowledge that I have gained from this time with Kelly, I am much more optimistic about going forward and being successful in the future.
Advertisement
Kelly mentioned to us that Mors Kochanski rarely left to go on a Bushcraft trip without having at least one plastic bag coiled up in his pocket. Simply because they are so lightweight and can be utilised in many different ways.
For example, it could be a simple bag to carry items in, or with the correct manipulation, one plastic bag can be turned into multiple strands of extremely strong cordage.
The method to create strong cordage out of the plastic bag is simple; by slowly stretching the bag and twisting it and repeating this process over and over you can extend a foot-long piece of plastic into a much larger strand with extreme tensile strength when braided together.
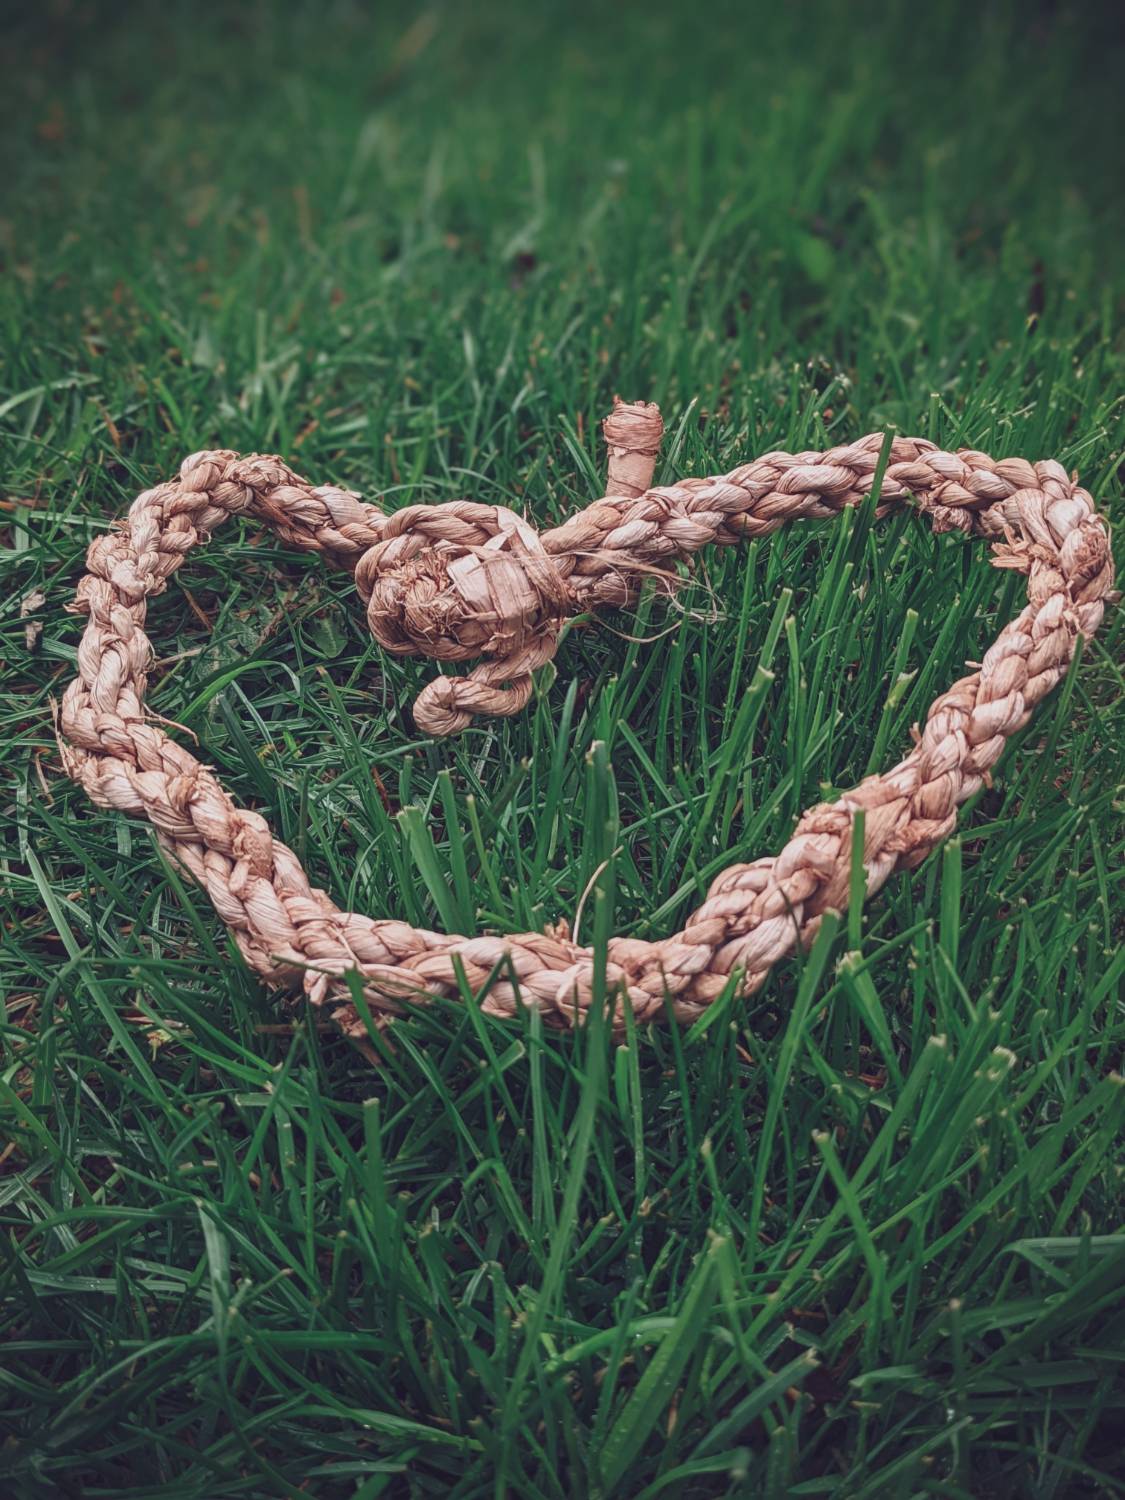
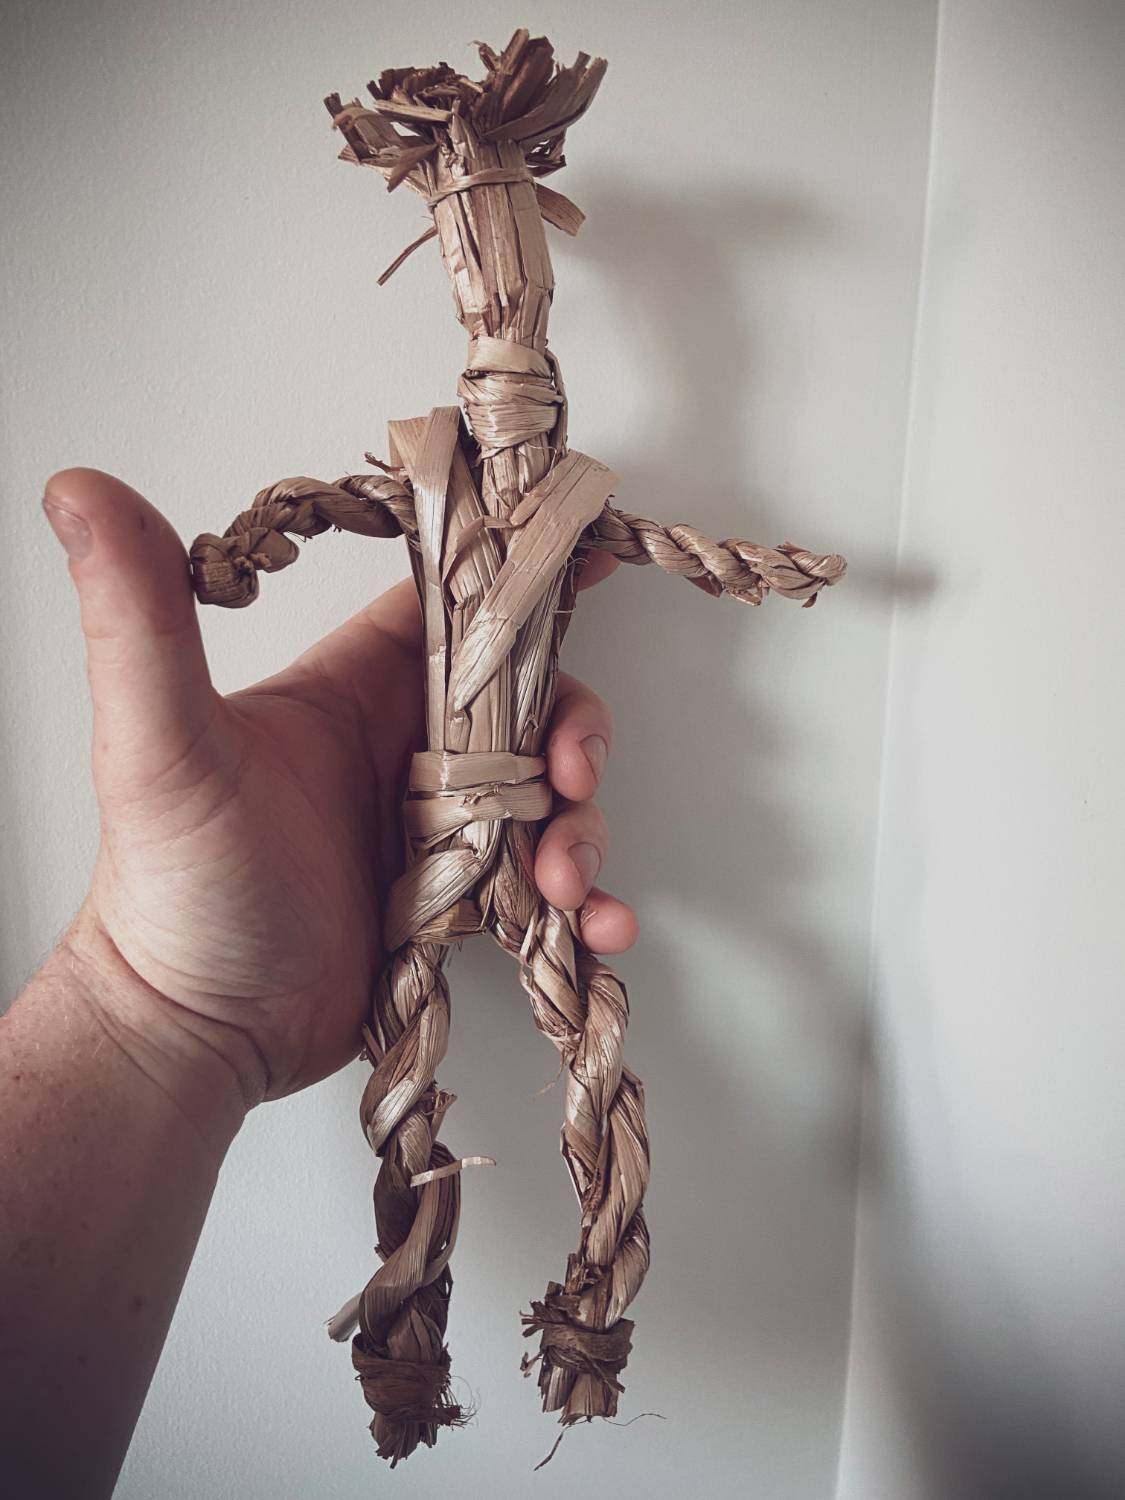
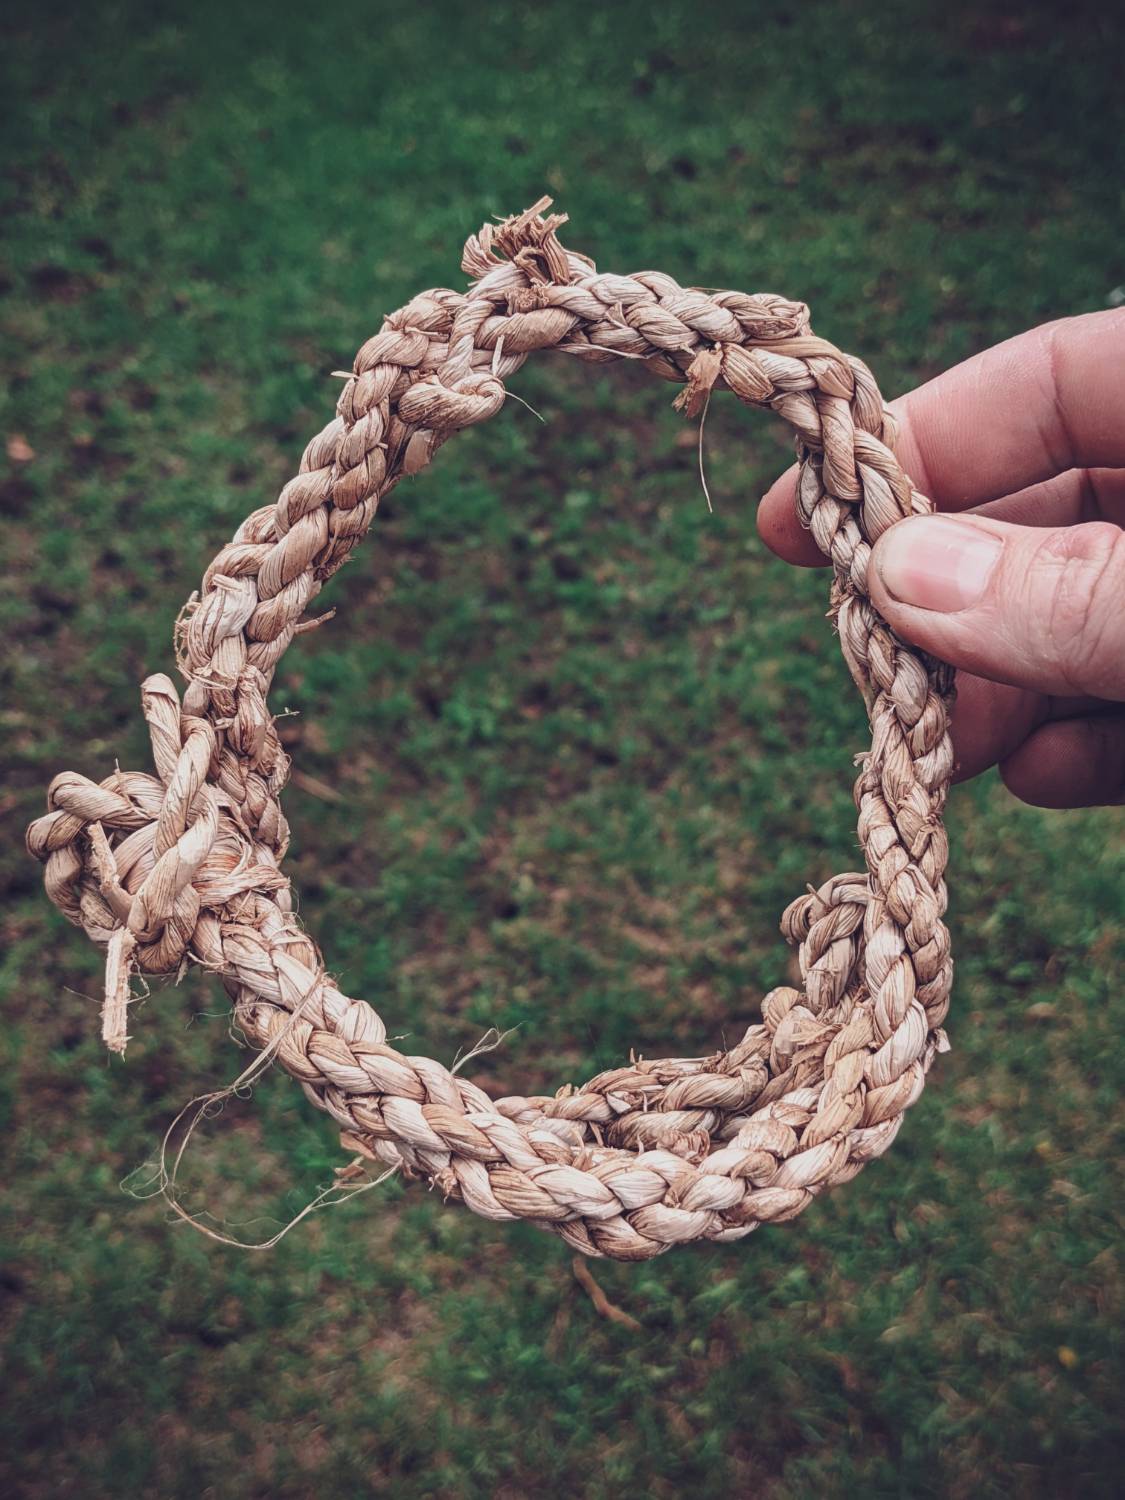
The best time to collect cattail for making cordage according to Kelly is in the late fall. We had some that had been collected previously and dried out. Due to this, the cattail needed to be submerged in water overnight in order to be usable for the cordage-making process.
All the participants of the course were handed several full cattail stalks, and we were instructed to peel apart the stalks. Then, by taking two of the strands and placing them in an upside-down “V” we would start the process of the reverse twist method of making cordage.
In principle, this method means that you twist the strands clockwise in one hand and then fold them counterclockwise over the other strand, or vice versa.
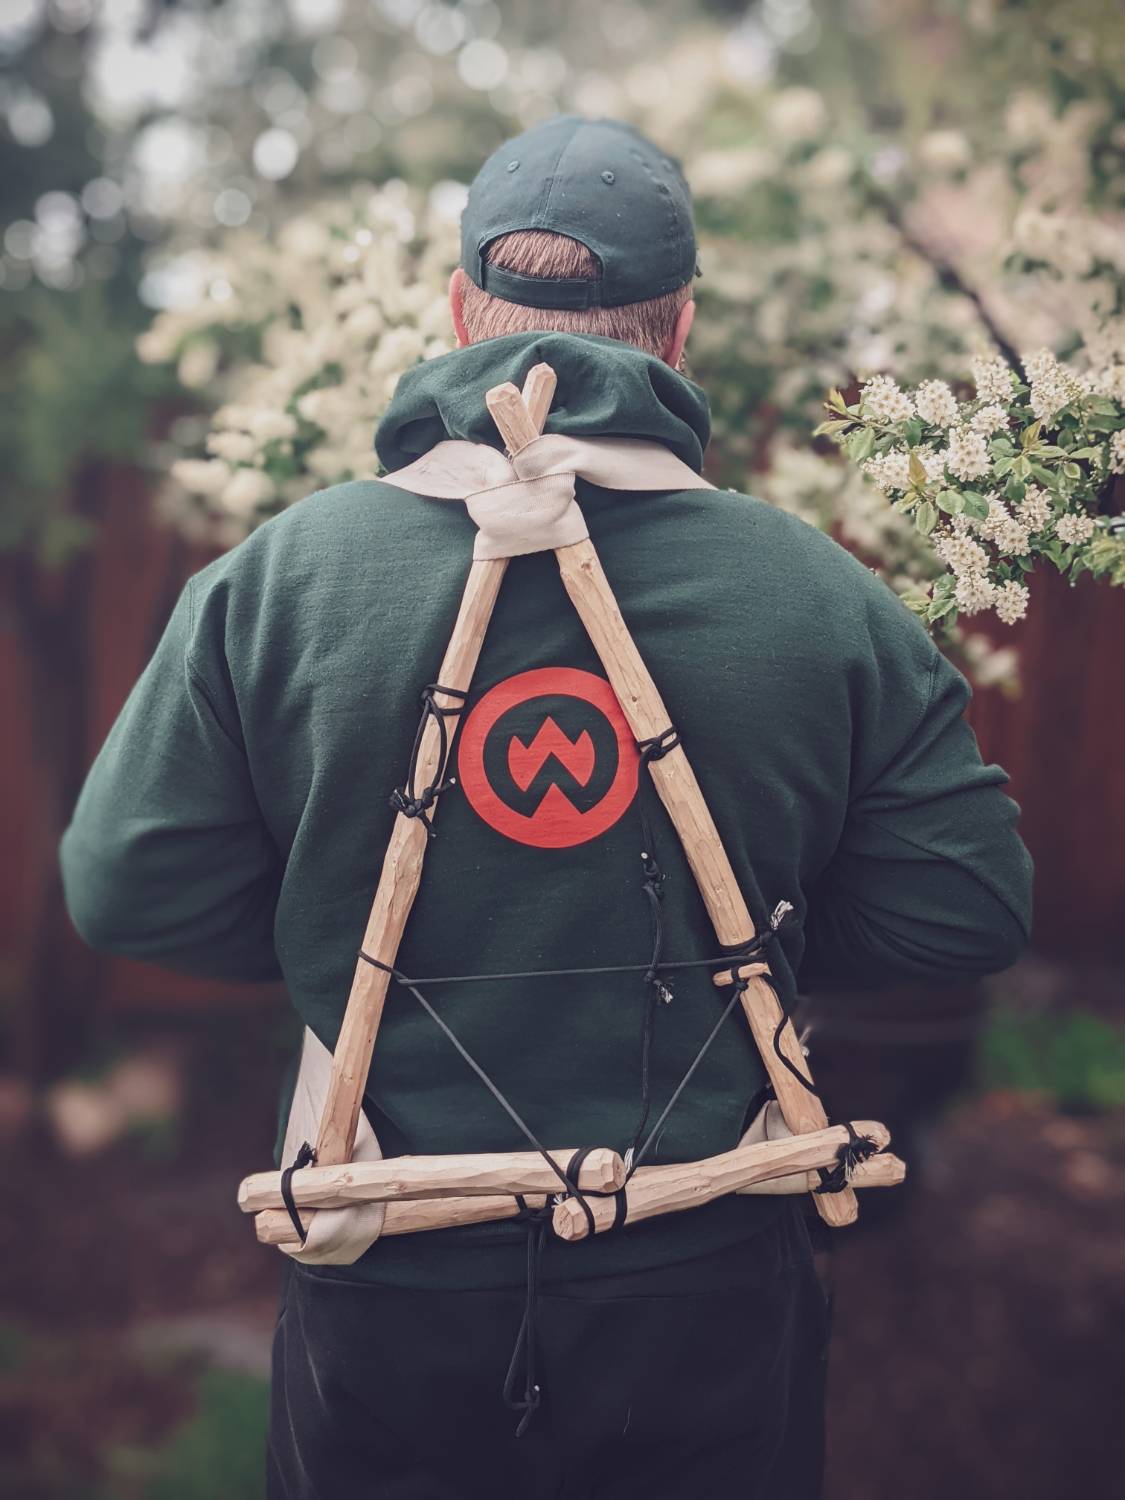
It’s amazing to see how a natural resource that is quite weak and brittle and in its natural state can be crafted into something strong enough to carry or bind things. For example, Kelly had built a Roycraft pack frame, and for several years he had used straps made from cattail. Only in the previous year had one of the straps finally broken and needed to be replaced.
Advertisement
Knots are extremely useful when learning about how to become more proficient in the bush. There are a few knots Kelly Harlton really drummed into us throughout the week that got used over and over again for different applications.
We started off with simple, easy to remember knots and as the week advanced, we gradually learnt more complex variations to use for different things. I really liked this because we weren’t overwhelmed at the beginning, and it really helped build my confidence.
Knots are a strange thing. If you don’t practice them often they will slip from your mind. I have seen people who have great experience in the outdoors simply forget how to tie a bowline all of a sudden because they haven’t done it for a few months.
Kelly puts a lot of emphasis on making all of the knots “ slippery,” which means making them easy to untie when you’re done with the application. This usually means ending the knot using a “bite” rather than the “working end” of the line to create a loop that is easily pulled loose when the cord needs to be untied.
Some of the knots we practised on this bushcraft course were:
One of the things Kelly goes over at the beginning of the course is the different grips used when using a knife and safe techniques when cutting with a knife. This is a good practice for all people getting into Bushcraft whether they have a lot of experience using knives or are just getting started.
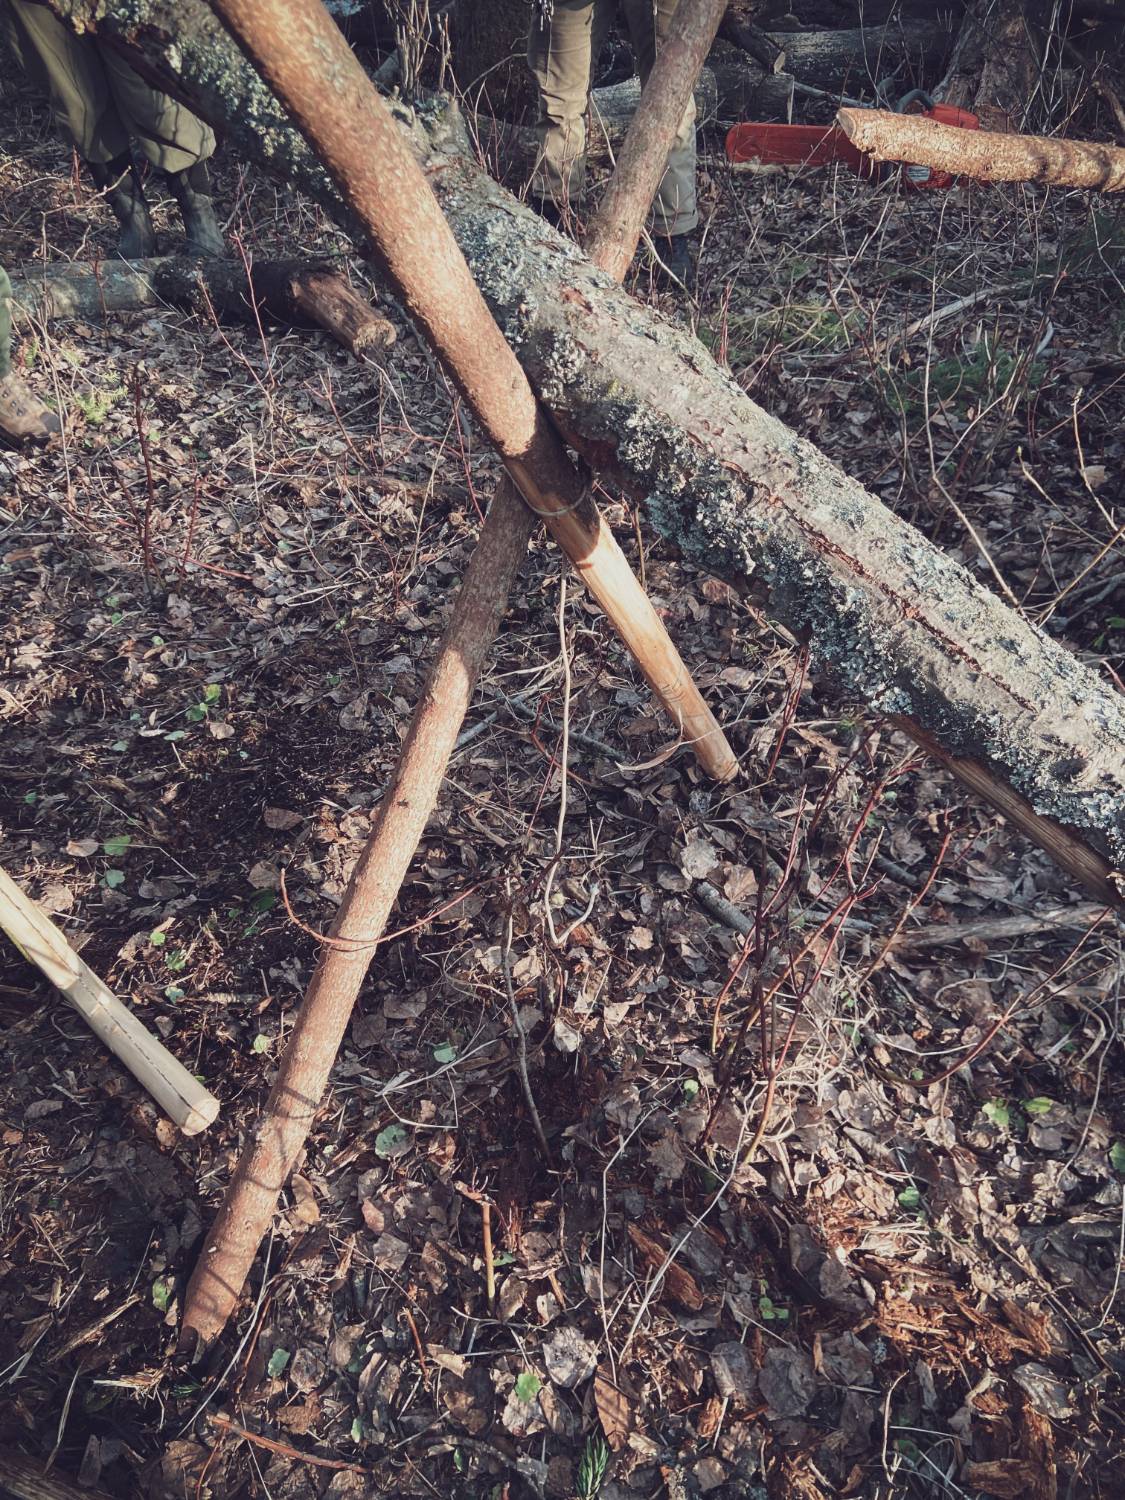
It’s amazing to see someone who is adept at using a knife make things look easy. By simply using the correct angles and tension, Kelly was able to show us a quick and easy way to fell a tree with a knife.
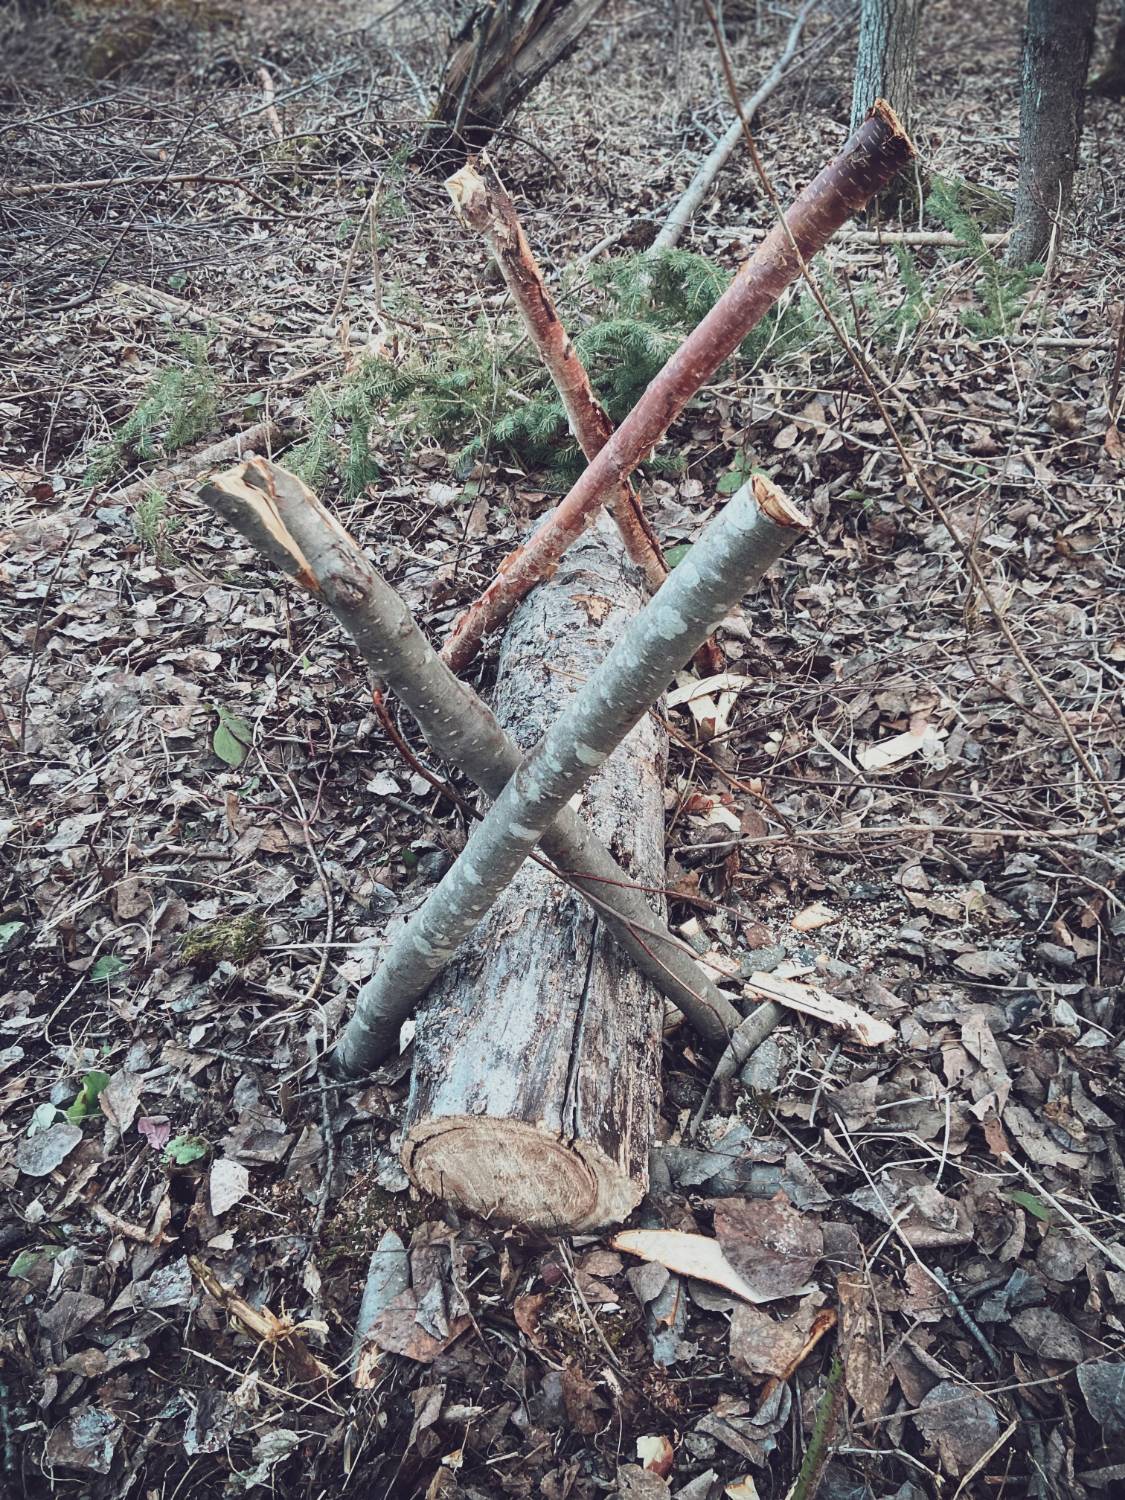
Having a sawhorse in the bush can be incredibly useful especially when it’s very cold and you need to process a lot of firewood.
We went over at least three different simple Bushcraft saw horses that can be made using the materials that are around you in the bush and maybe a small amount of cordage.
Advertisement
Hygiene is a very important thing to maintain when out in the bush for a long period of time. Without it cuts and grazes can become infected, so staying clean is for more than just keeping your campmates happy.
A slightly more abstract project that we went over was creating a bushcraft shower that utilised a watering can strung up in the trees with a cord that allowed you to tip the can in order to release water.
Advertisement
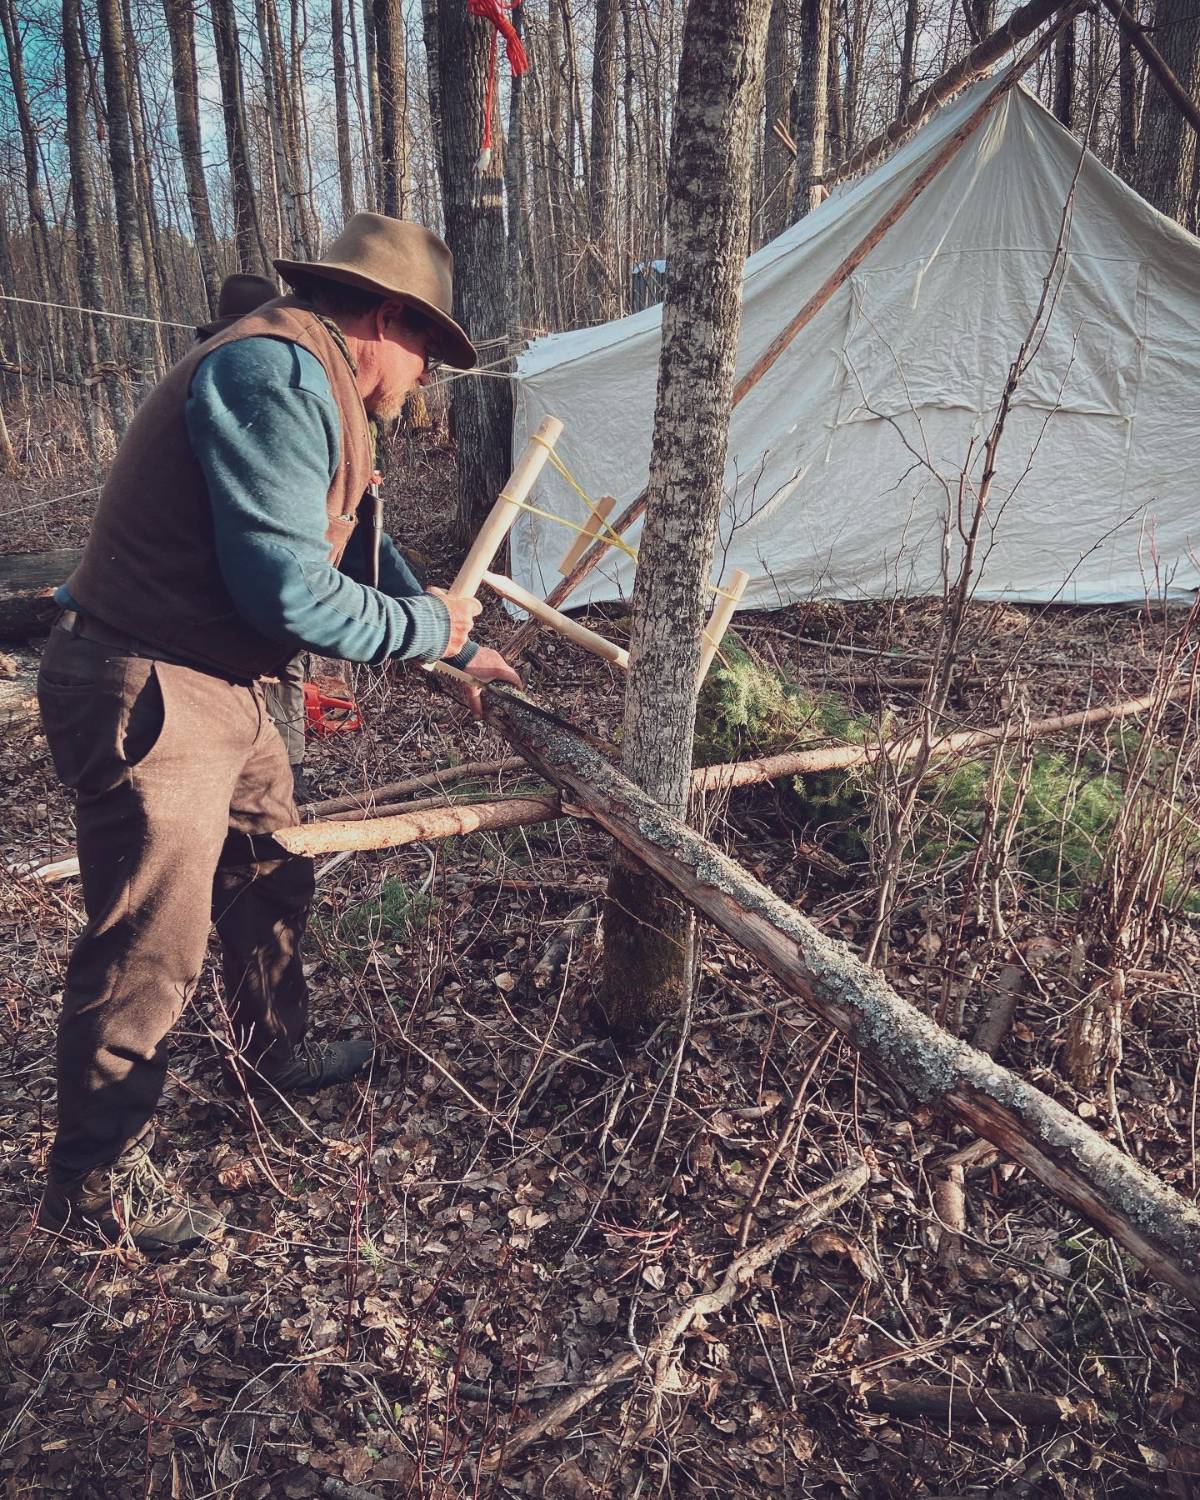
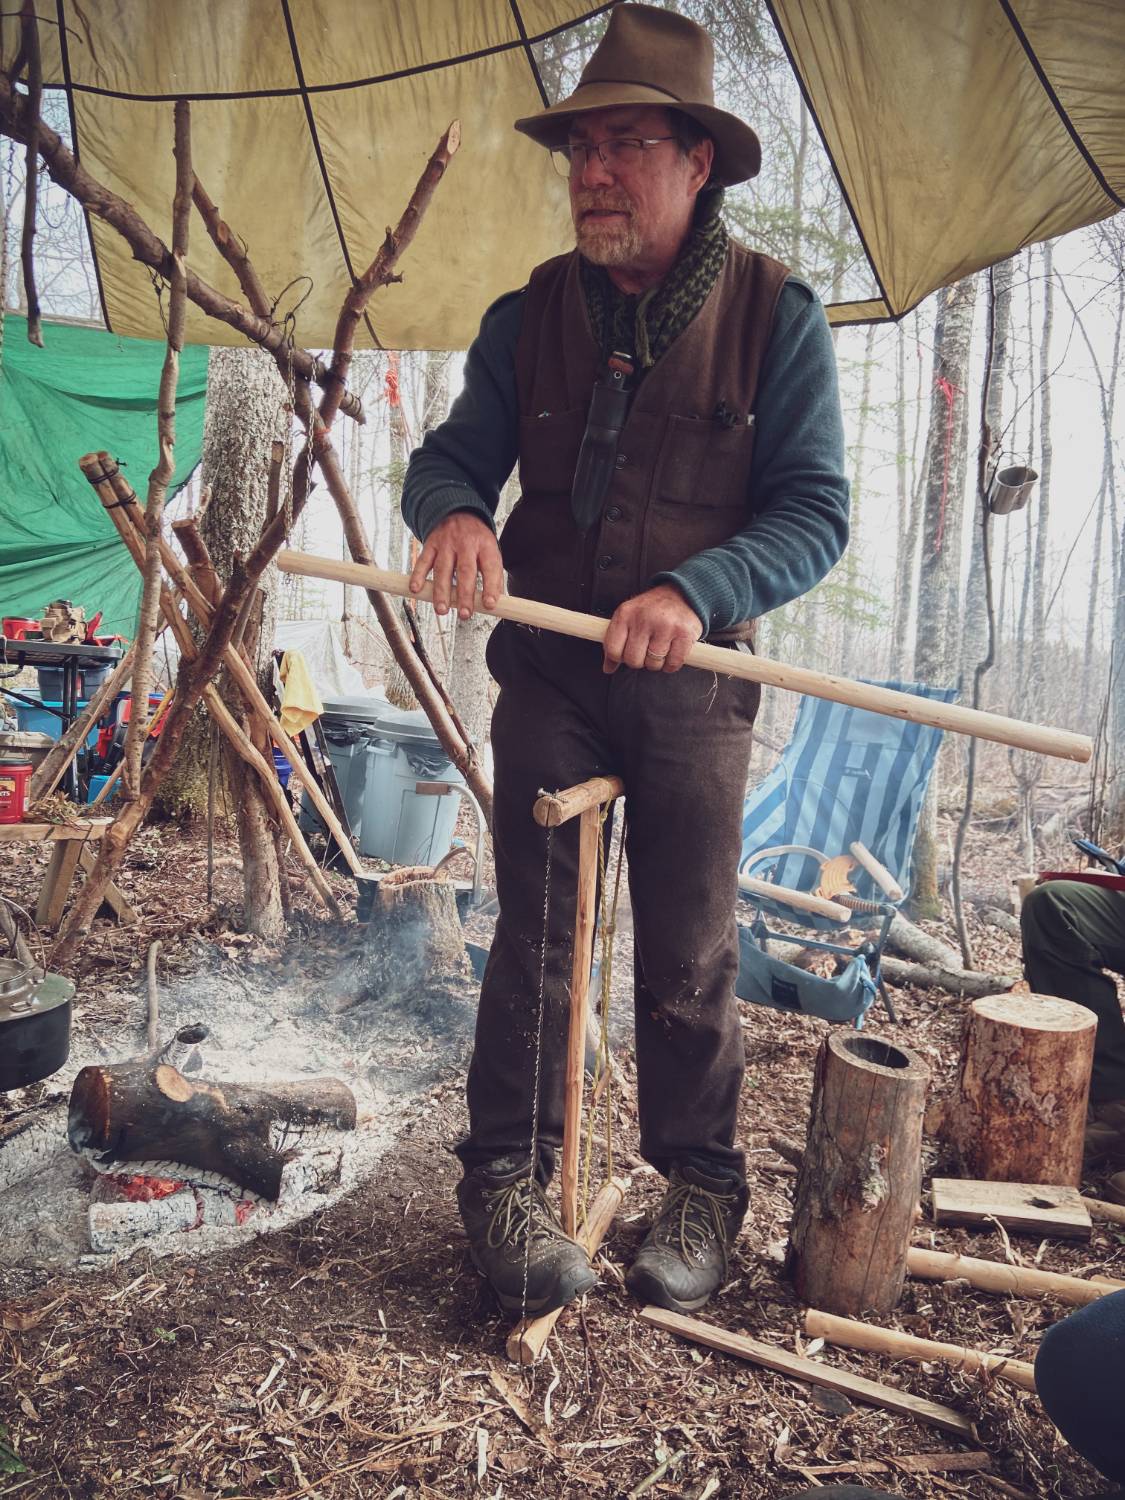
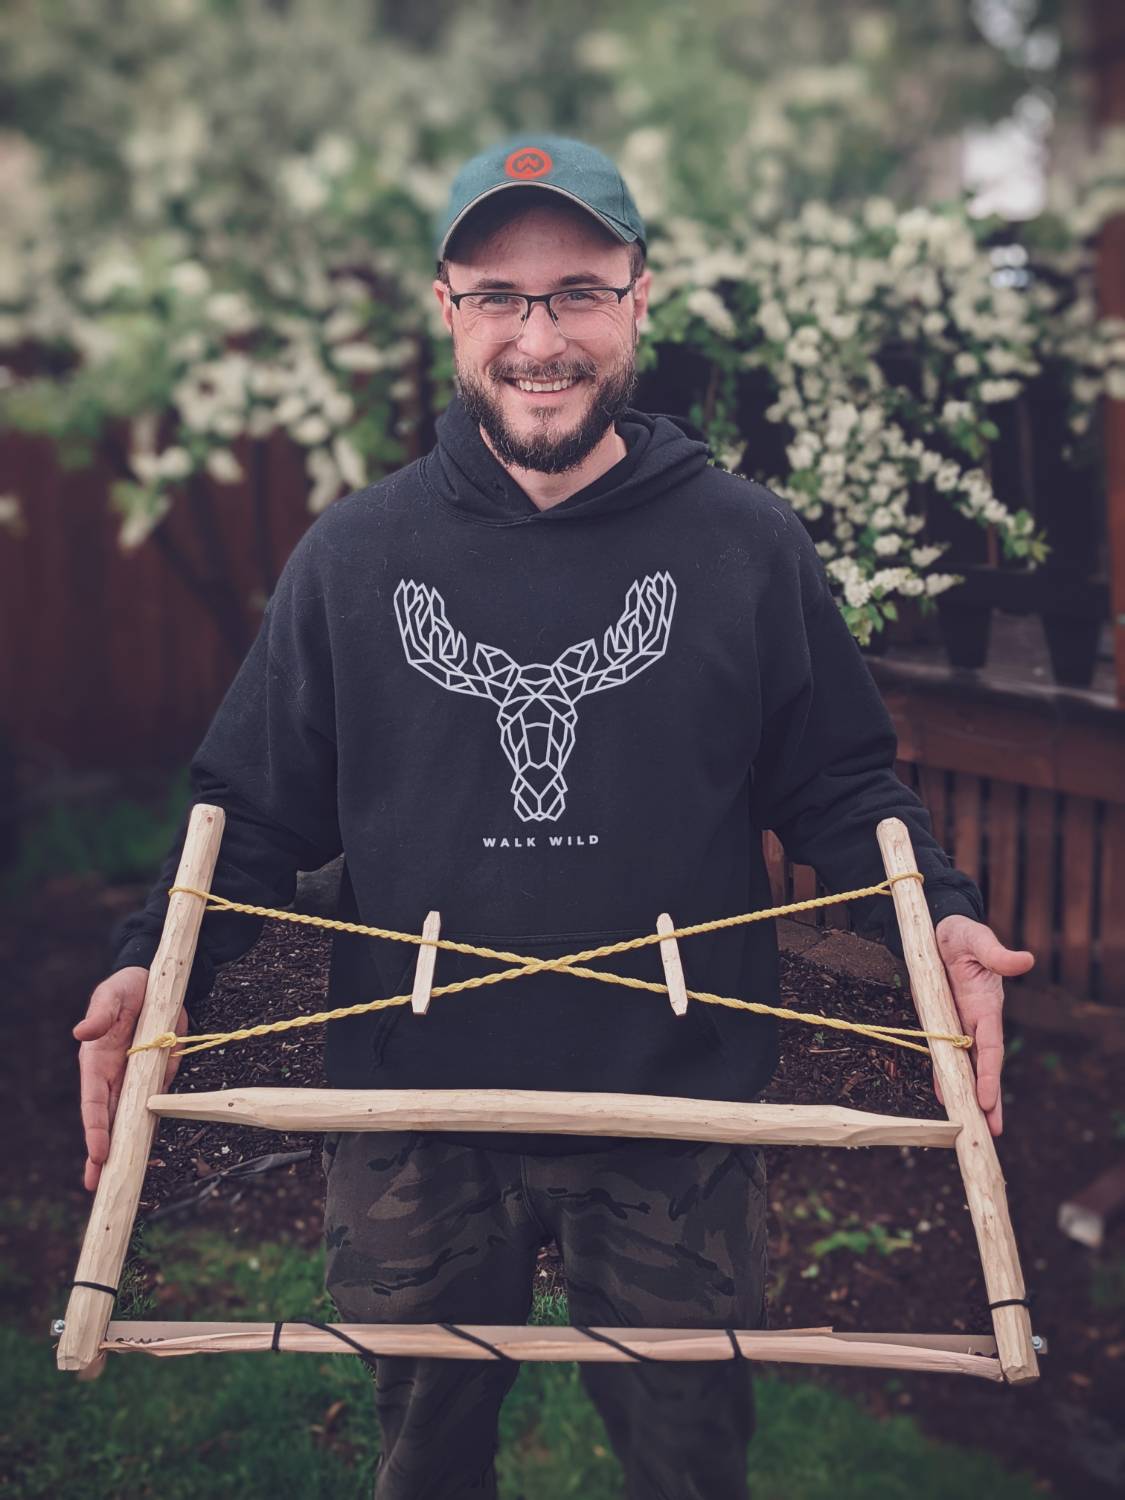
When hiking into an area it’s nice to have a lightweight pack. Carrying only a saw blade with you is significantly lighter than carrying a fully constructed buck or bow saw.
During this course, Kelly Harlton showed us how to construct the “Halton H Buck Saw” from scratch using three straight poles cut to the required length and two arms lengths of cordage. The saw was incredibly sturdy and worked really well. I will definitely be using this skill again in the future.
Advertisement
If Kelly is my guru and Mors Kochanski is Kelly’s guru, then Mors’ guru was Tom Roycraft. Roycraft was a bit of a pioneer in the bushcraft world and is responsible for coming up with some very cool techniques that can be used in the bush to help you.
Along with his snowshoes, the pack frame is one of his most taught skills, and definitely a fun one to learn.
Advertisement
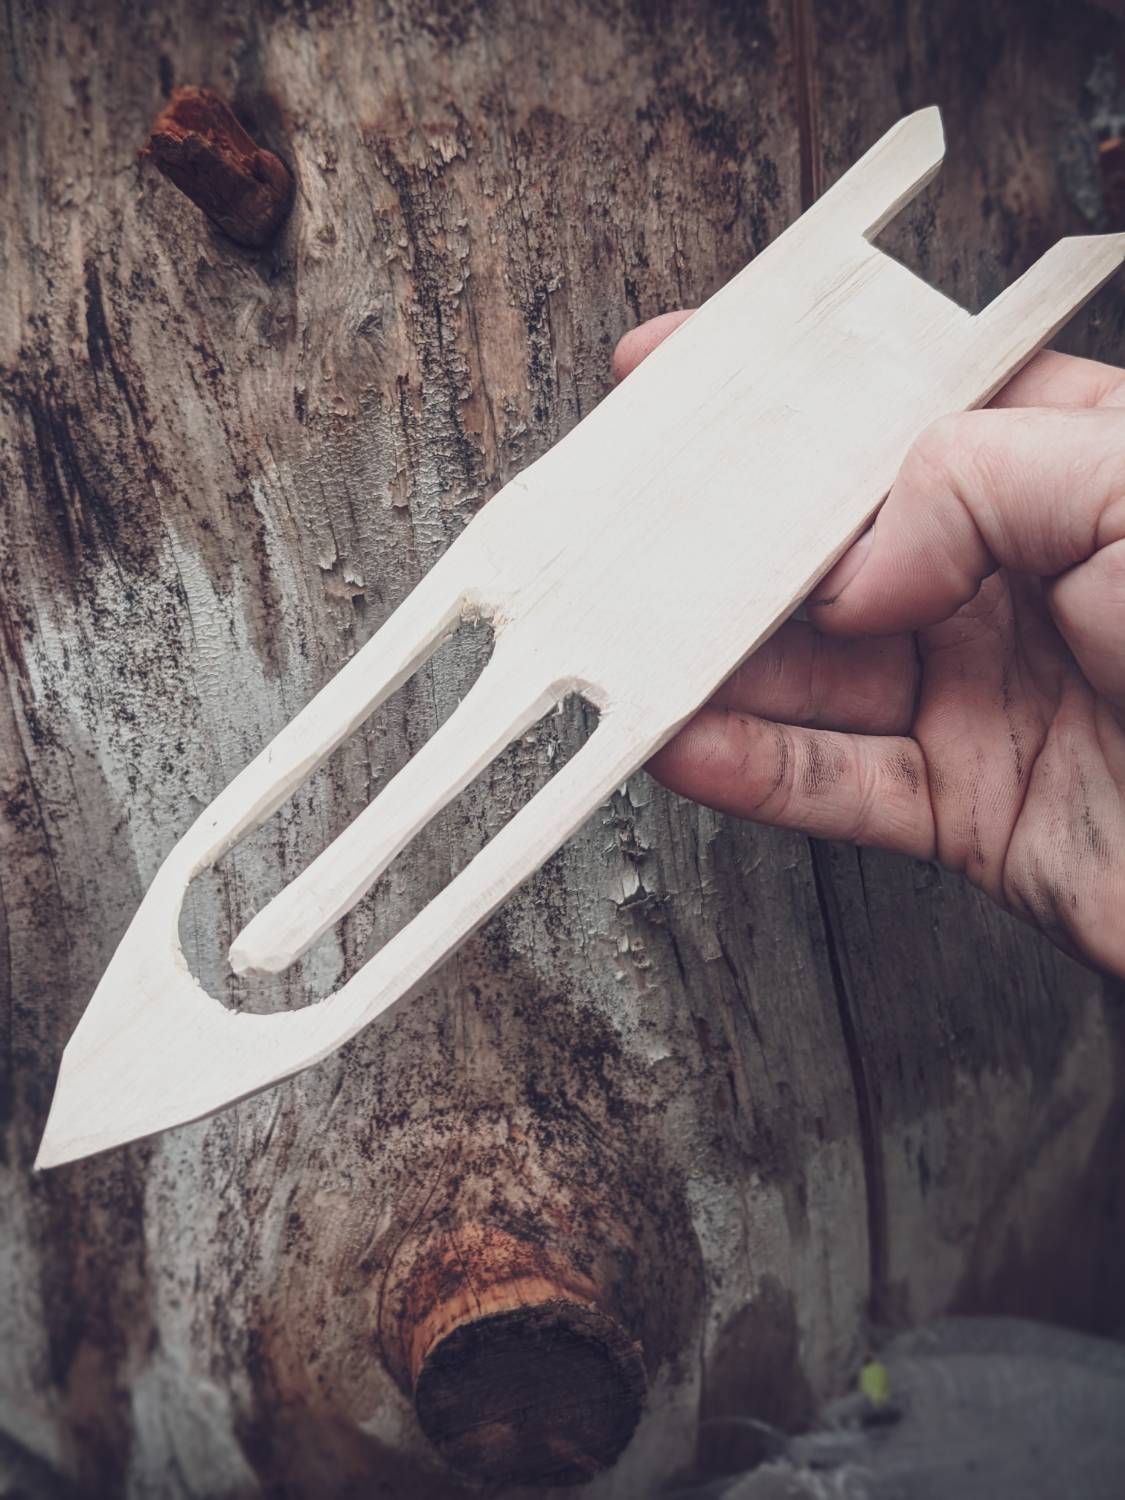
Even though gillnets are illegal to use in most situations in Canada, it’s a great skill to learn if you’re ever faced with a true survival situation.
We learnt two different techniques for making nets during the course, both of which I will definitely practise more in the future. Even if I can’t use a full gillnet, I could make a landing net for when I’m fishing in the summer.
Advertisement
We enjoyed some time using some pre-made atlatl that Kelly brought along to the course. It was incredible to see how efficient these primitive spear-throwing apparatus are.
With an extremely simple design and intuitive technique needed to successfully use it, I now understand why they were so commonly used by our ancestors for taking down big game.
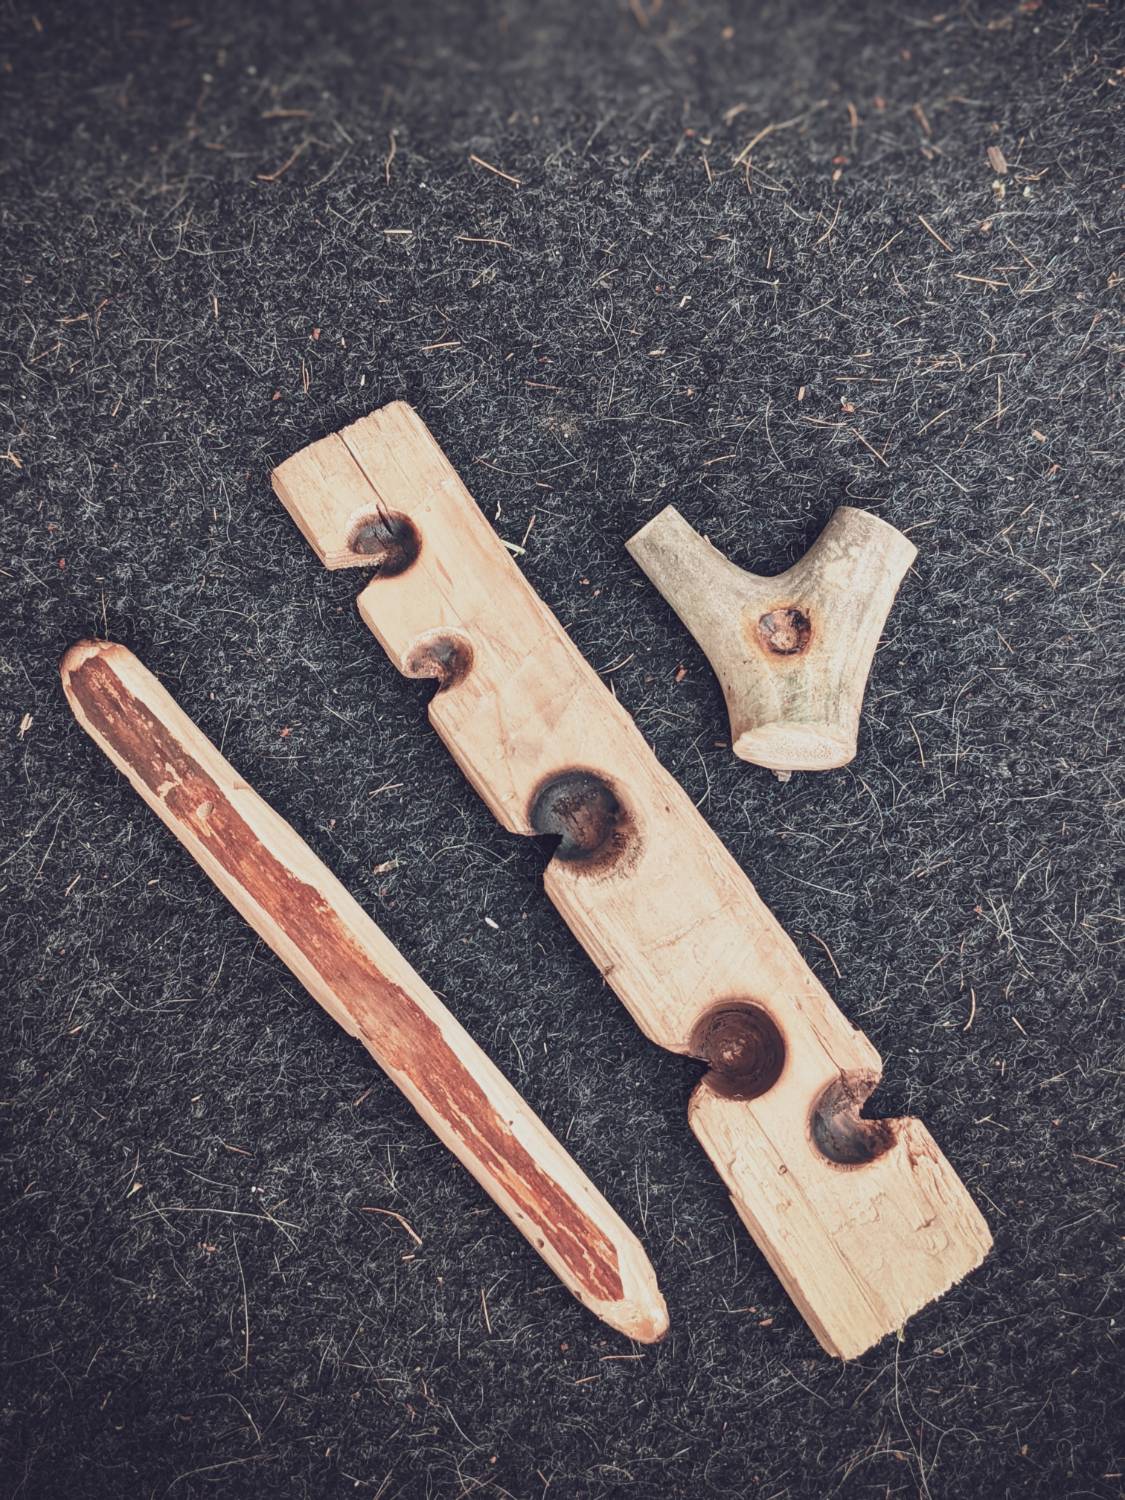
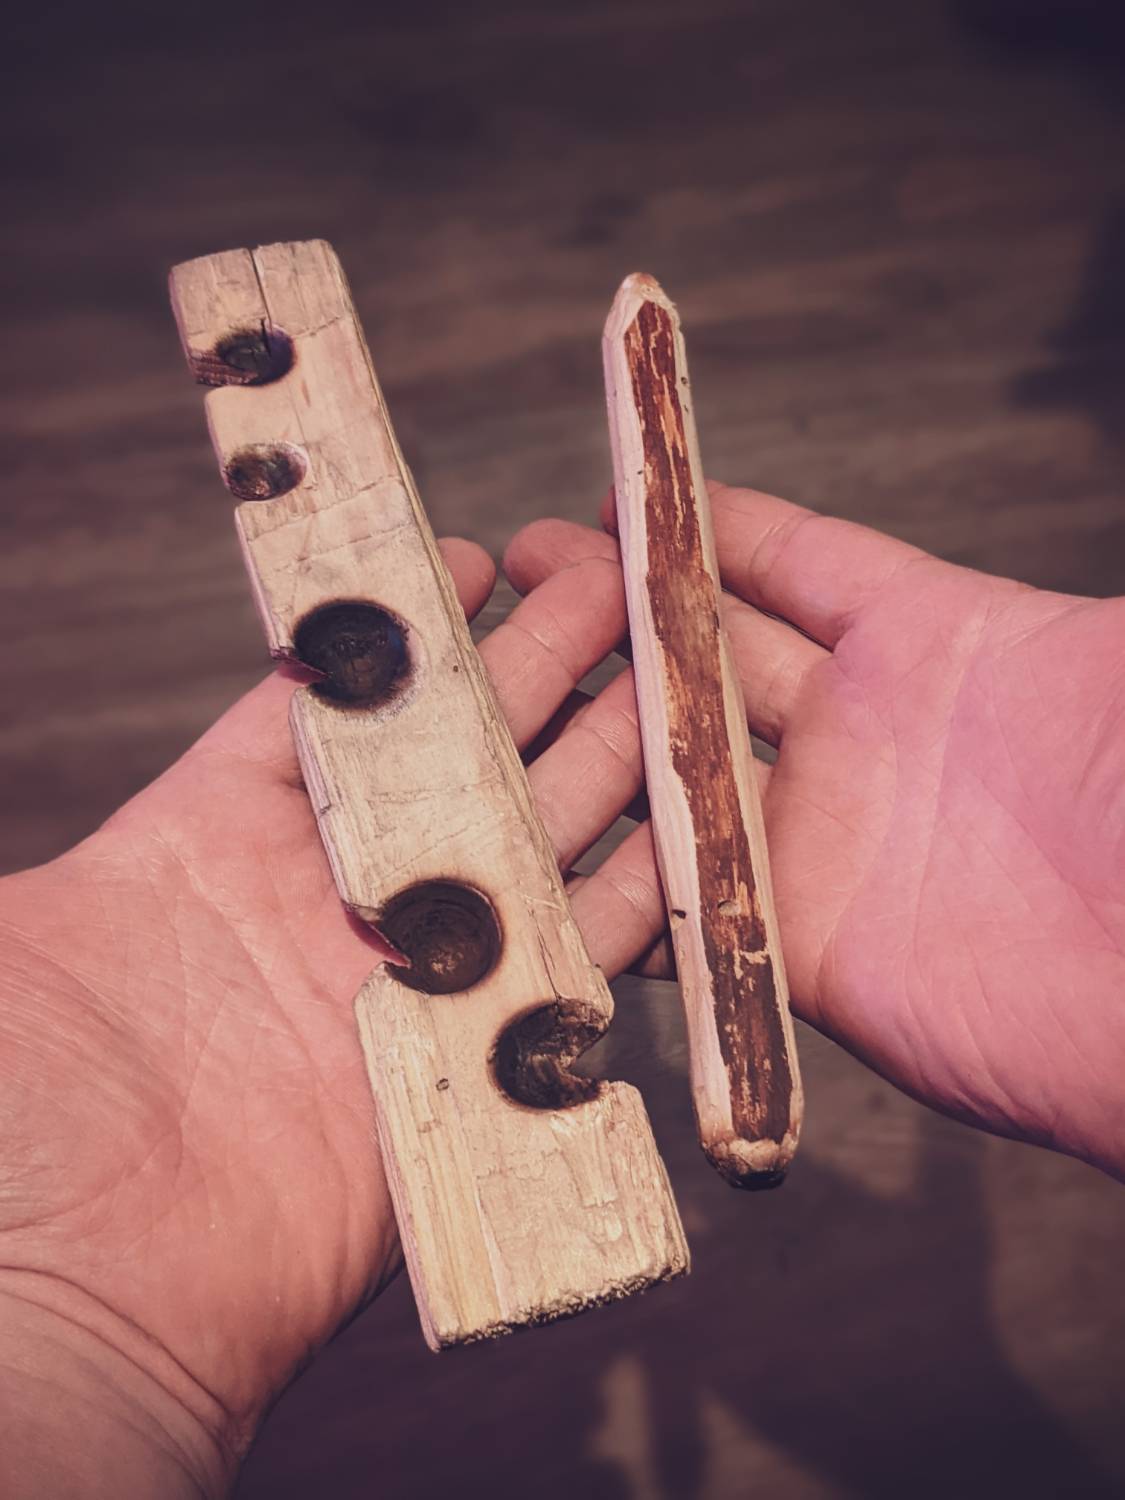
Sometimes when you’re bushcrafting or hunting or simply camping you need to process a lot of firewood. A good way to process a lot of firewood with simple tools is by creating some wedges out of timber. It’s incredible how much a simple wedge can quicken the process of splitting a large log apart.
This course was filled with small, nuanced techniques that allow you to accomplish things that would usually take a lot out of you with significantly less time and energy, simply by using a good technique or skill.
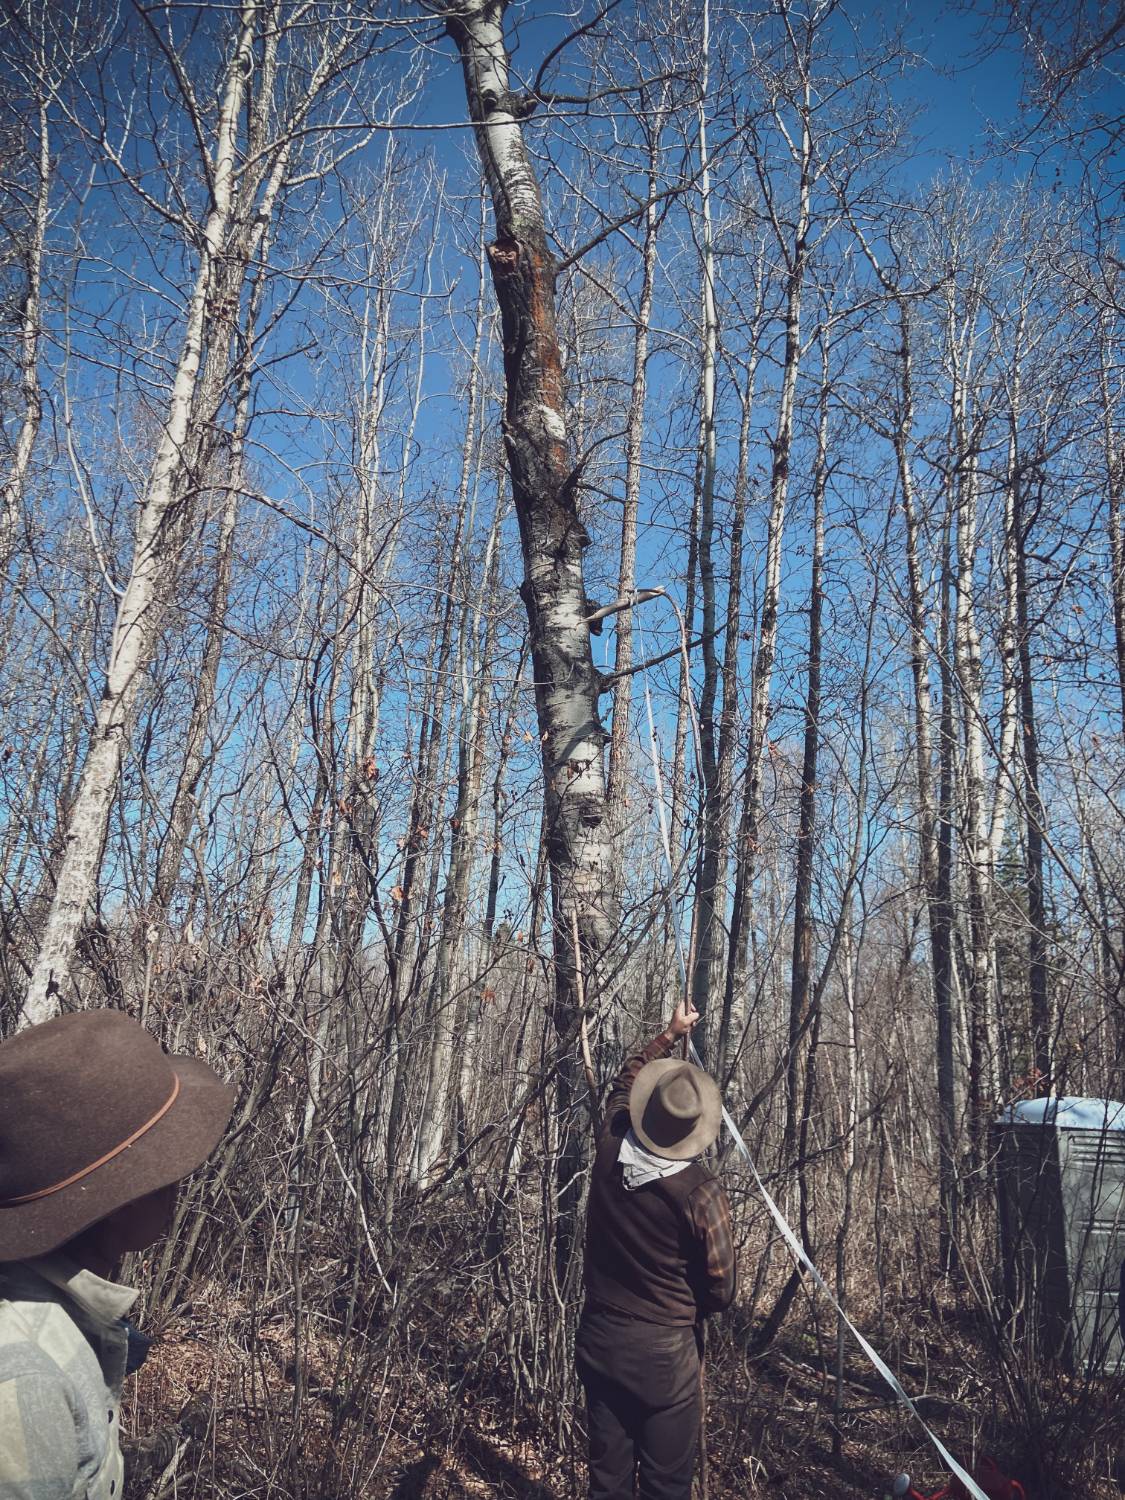
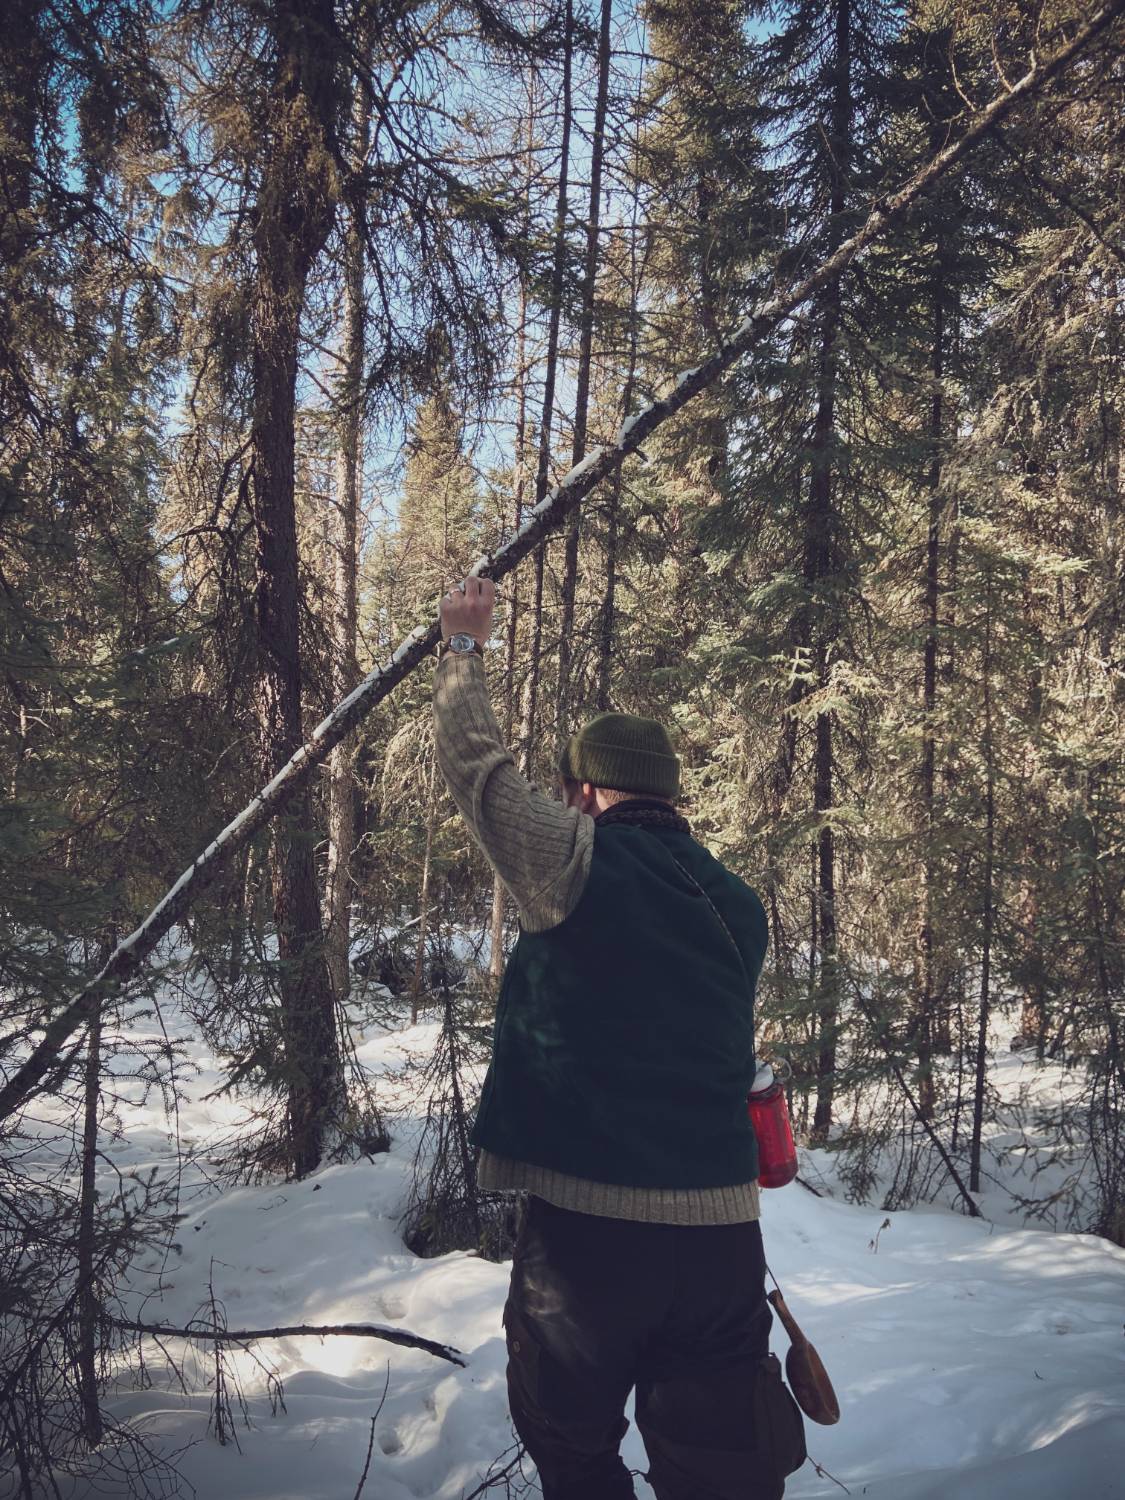
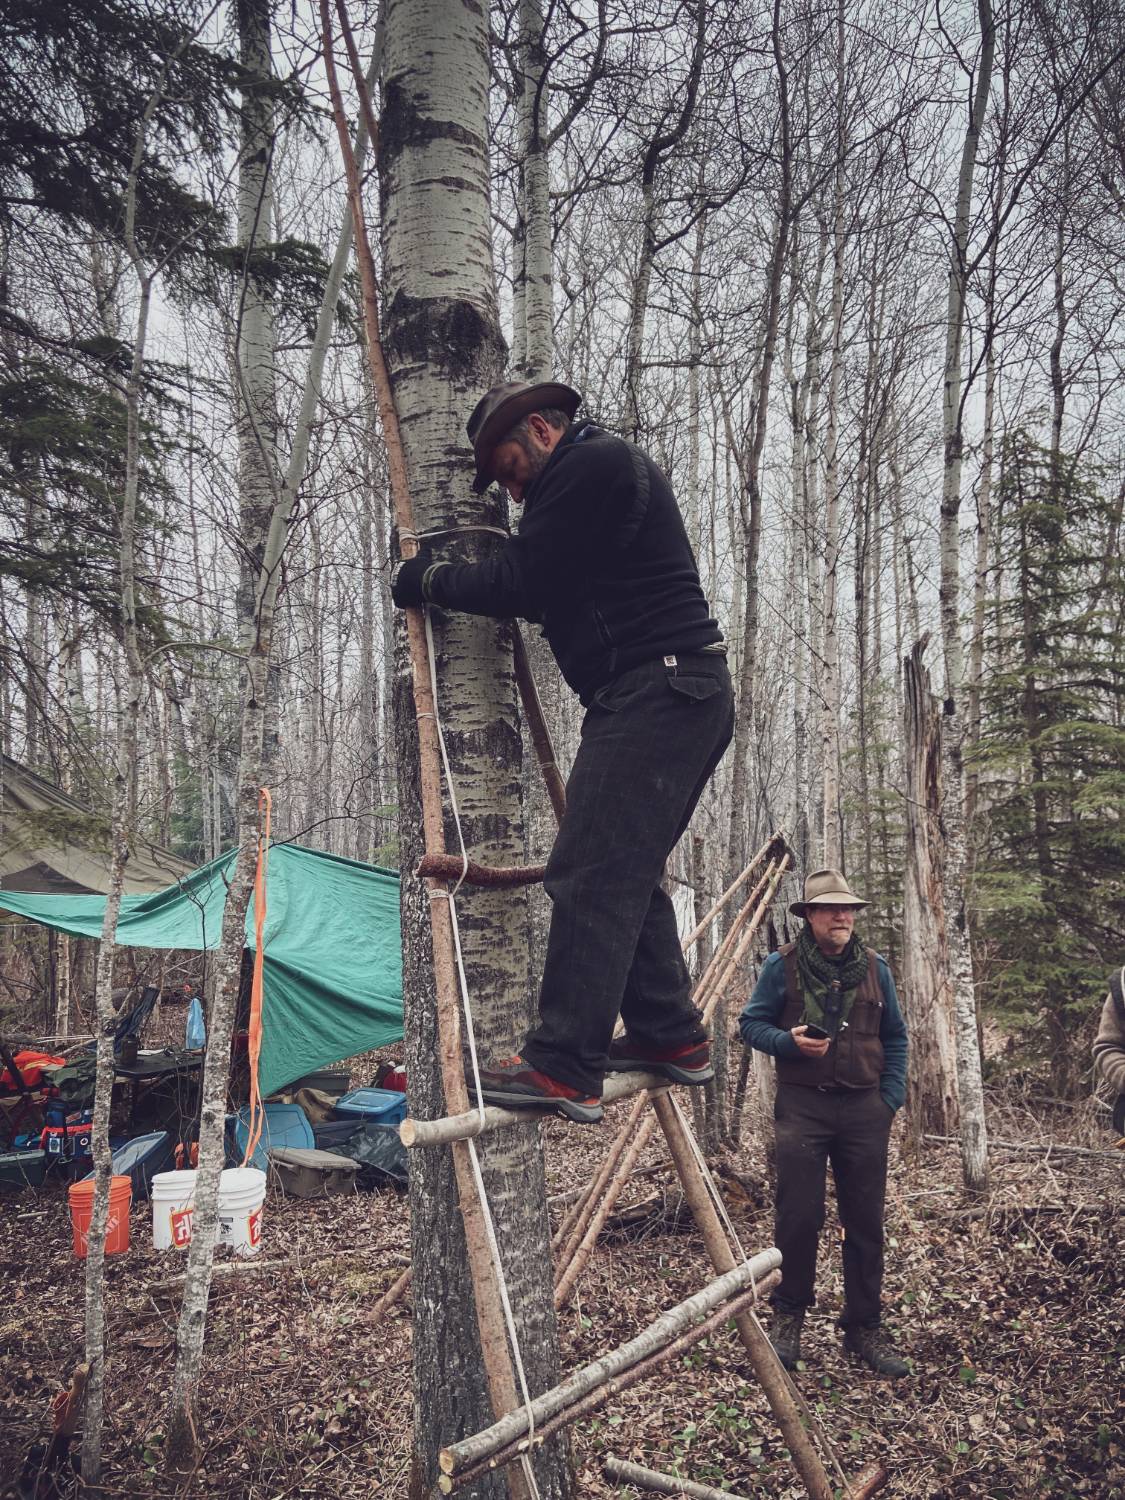
This project was extremely enlightening to me, to see how you could build a very reliable and stable ladder from the materials around you to be able to access resources in the canopy.
Whether it be for grabbing that piece of chaga that you wouldn’t normally be able to get to, or creating an easily dismountable tree stand.
Advertisement
There are a few weeks at the beginning of spring when birch trees can be tapped for sap. This sap is nutritious and can be a great source of hydration. Using a man-made tap Kelly syphoned around a litre a day from one tree over 7 days.
Some of us used different primitive techniques to tap and were able to get about half that amount of liquid each day.
Kelly went through a simple filtration process with us during the course which consisted of a tripod with three separate layers of cloth tied at different levels.
We would collect a large bucket of water from the lake and pour it from the top down through the layers, with each layer removing particles from the water. By the time it had collected in the empty bucket underneath, the water was very clean and clear and simply needed to be boiled before consumption.
What is a withy I hear you ask? It’s a pliable green sapling used to replace cordage. It is amazing to see the multiple uses of withes and Kelly Harlton is some of a master at applying them.
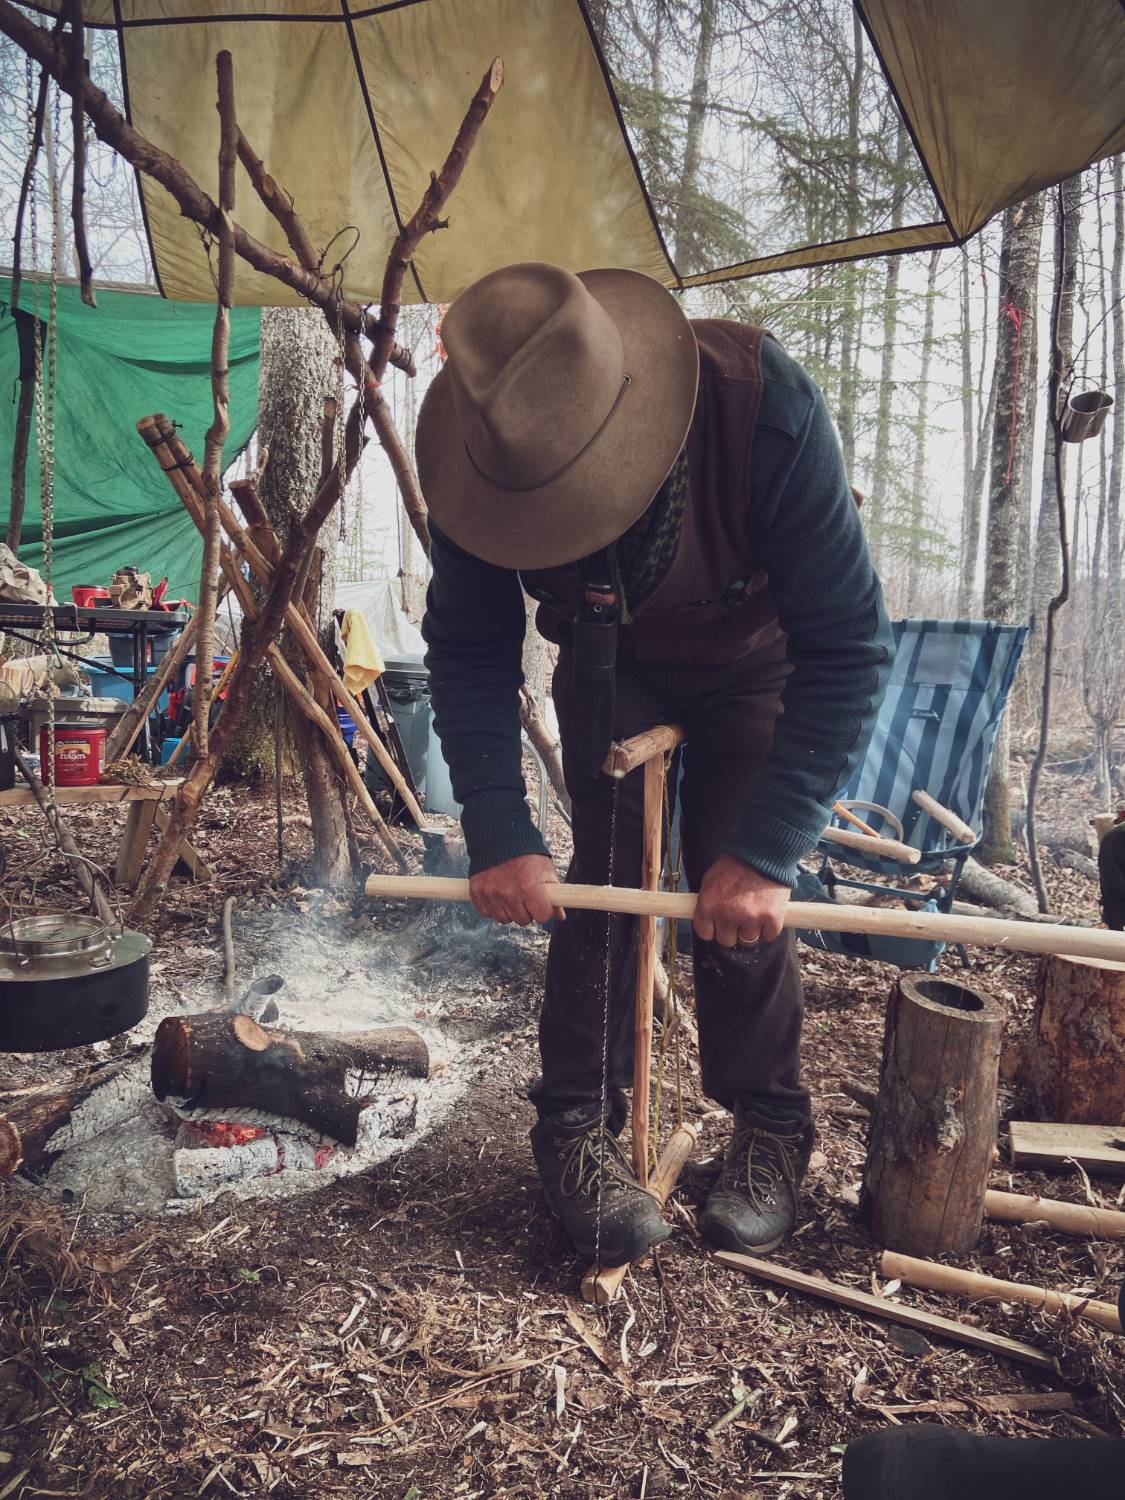
From lashing horizontal beams to trees to creating a pot hanging system using one withy and a tripod.
As a bushcraft enthusiast, when I go out into the woods I don’t just see trees. I see the resources all around me, almost like I’m browsing a shopping aisle. Having said that, after spending a week with Kelly, it was clear to me that I had overlooked many natural resources that were around me, and I had a lot more to learn.
Kelly Harlton has a wealth of knowledge that is unmatched in the boreal forest and his ability to teach the skills in a digestible calm and understanding way is truly remarkable.
Advertisement
This article covers just a drop in the ocean of knowledge that I received from a week-long bushcraft intensive with Kelly Harlton. I know that I can’t possibly retain all of the information that I learned during this trip but through continued practice and application, I intend to always keep building and refining my skills and knowledge.
It was extremely humbling to realise just how much there is to learn in the wild, and spending time with Kelly was a gift. I would highly recommend anybody interested in bushcraft to take some time out and attend one of his courses.

Never Miss another Post and stay up to date on Walk Wild adventures.