

4 Bushcraft Activities to Practice in Your Backyard
Learning bushcraft skills is one of the best ways to make your outdoor adventures more fun and rewarding. Whether you’re into camping, hiking, fishing or…
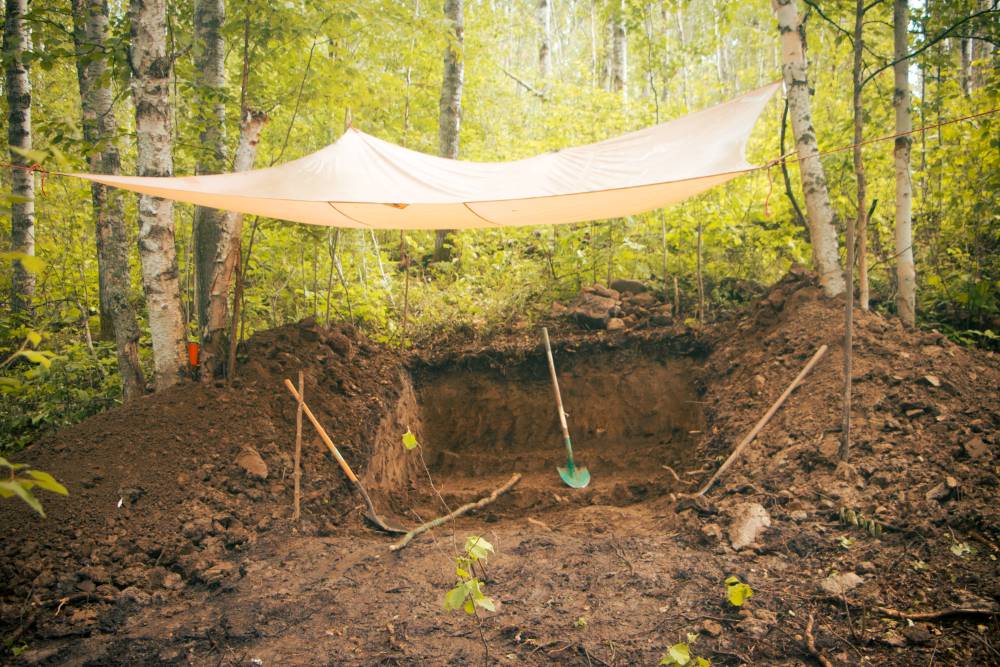
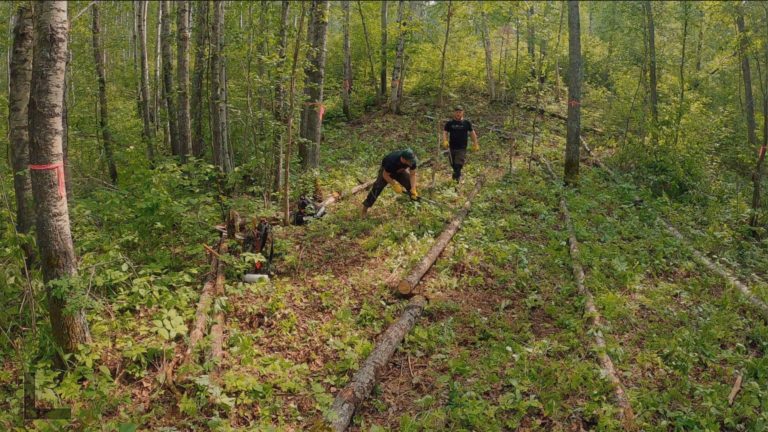
In this week’s trip, we wanted to make a start on the Bushcraft Dugout shelter that we marked out in our last video. Taking on a large-scale bushcraft project in the woods can be quite daunting, and this project was no different. The thought of having to excavate tons and tons of clay from the ground with just hand tools was always going to be a large project, so mentally preparing for the day was at the forefront of our minds that morning.
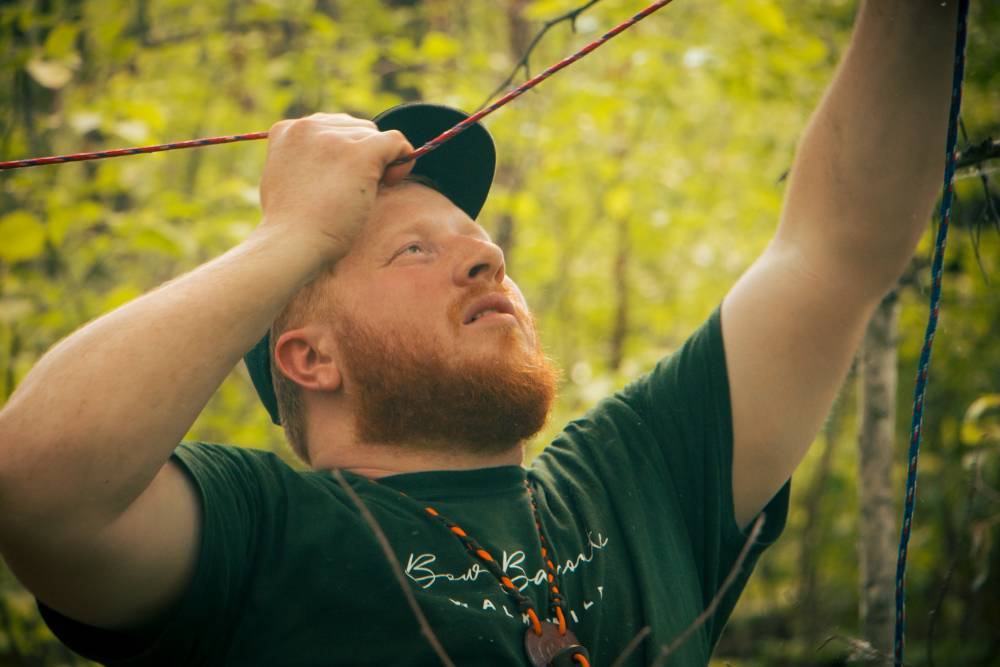
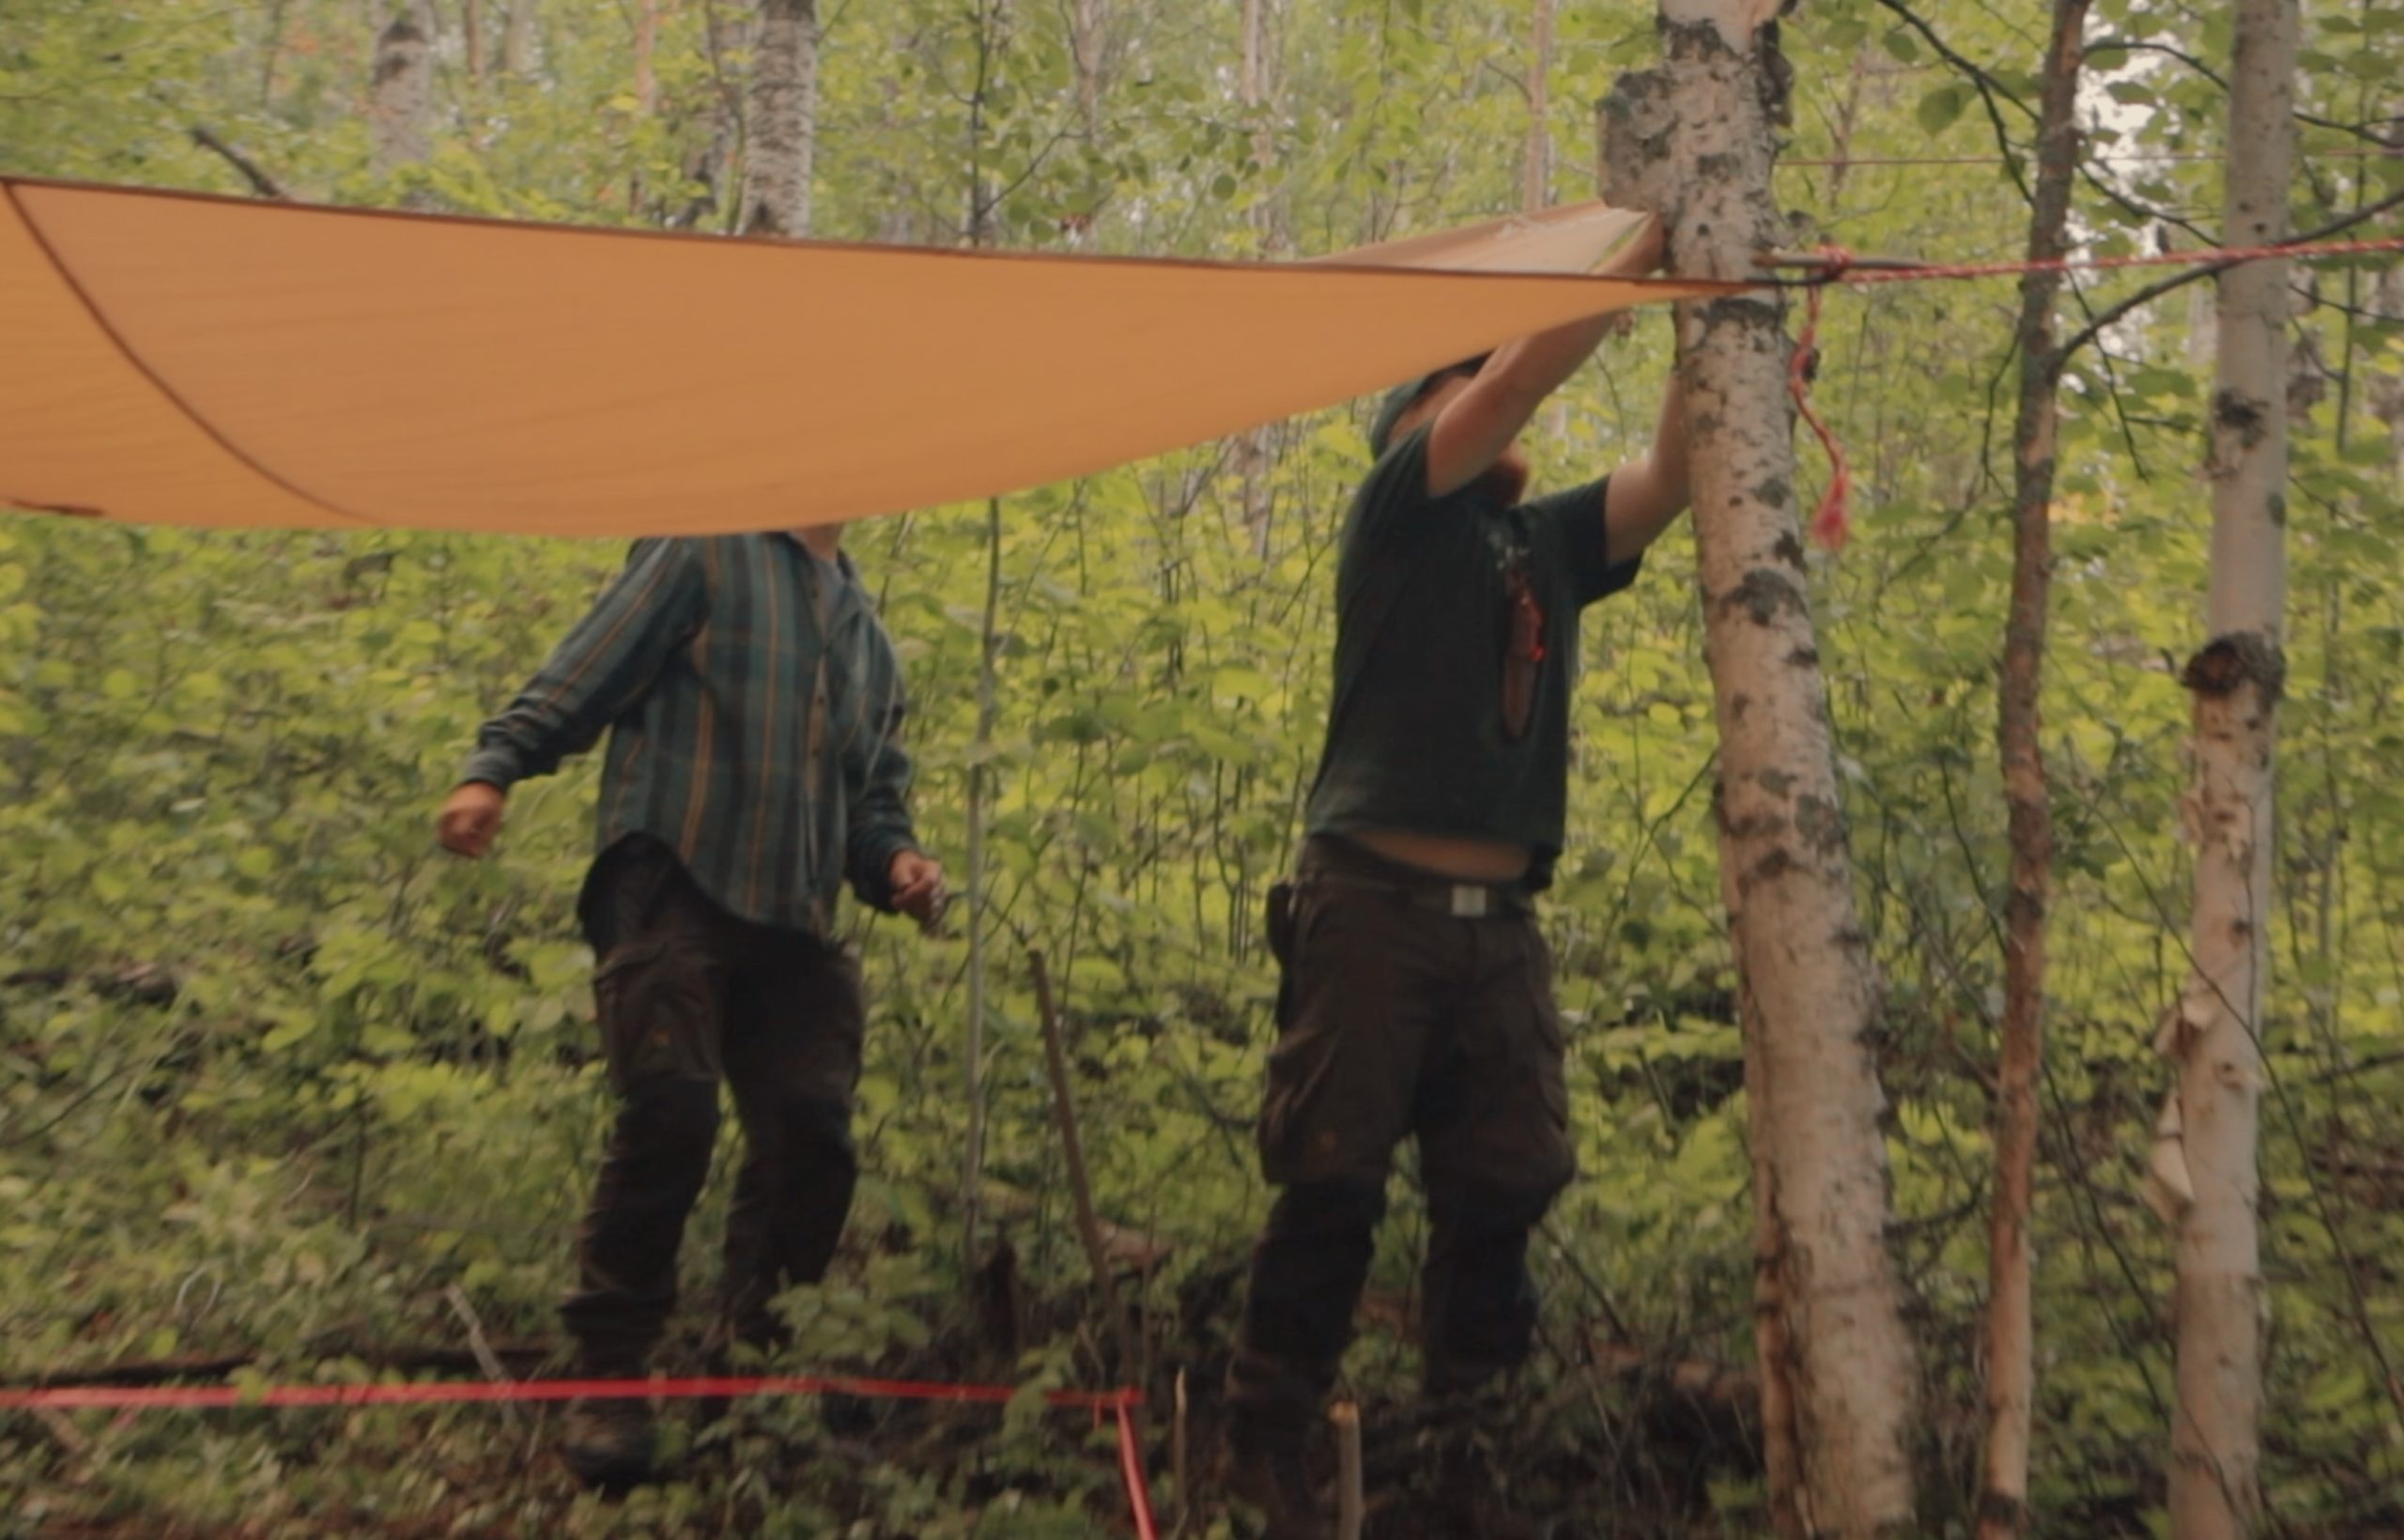
Before we broke ground, Bow strong up a large tarp over the excavation site as we had a lot of rain forecast for that day and for the following weeks. Although we are we were aware that that would be some water that would get into the excavation site we didn’t want to come back to a giant puddle of mushy clay, that would make it very difficult to work in.
After the tarp was strung up it was time to break ground. All of the forest clearing in the previous episode was leading up to this moment and as soon as the shovels dug into the ground, you could feel the excitement building between all of us.
Advertisement
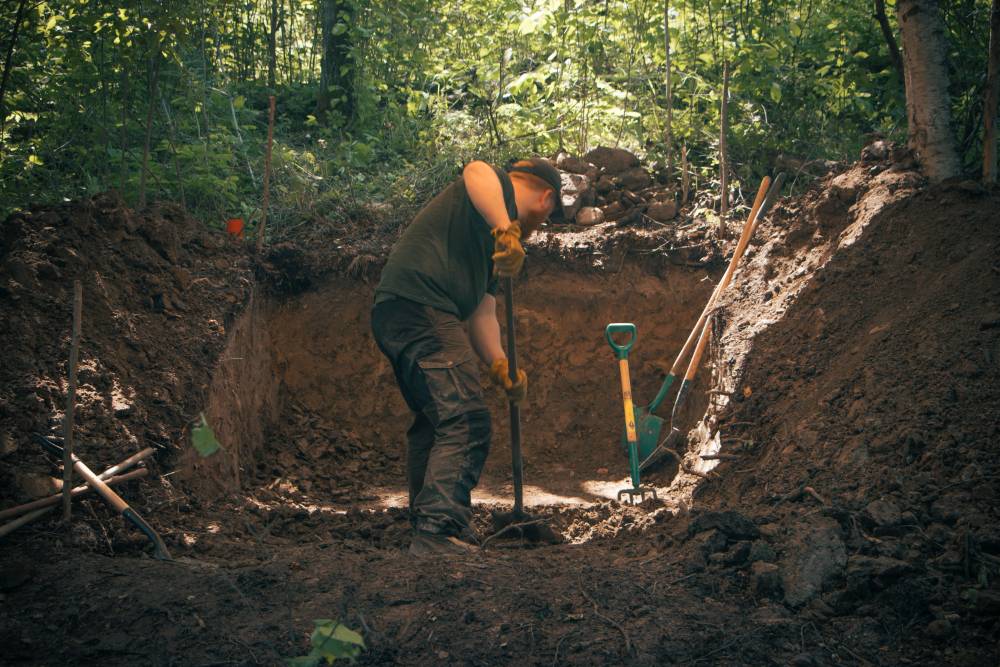
If you’re like us and you’ve spent hundreds of hours watching people practice bushcraft on YouTube, and building dugout shelters, you will know that generally the actual excavation process is skipped over fairly quickly and it makes it look pretty straightforward and easy to accomplish. If ever you are planning on doing a bushcraft dugout shelter you should definitely plan for it to be extremely taxing on your body and extremely time-consuming. Moving that much clay with just hand tools is a lot of work.
The most difficult part was removing the top foot of topsoil and black dirt, as it was laden with surface roots, making it very difficult to get the spades and shovels into the ground. Once we’d removed the top foot of black dirt we were pleased to find that there was lots of clay underneath. Removing the clay was also tricky but a lot less frustrating as you could actually get the shovel into the ground 9 times out of 10 although hitting rocks was a frequent occurrence.
Advertisement
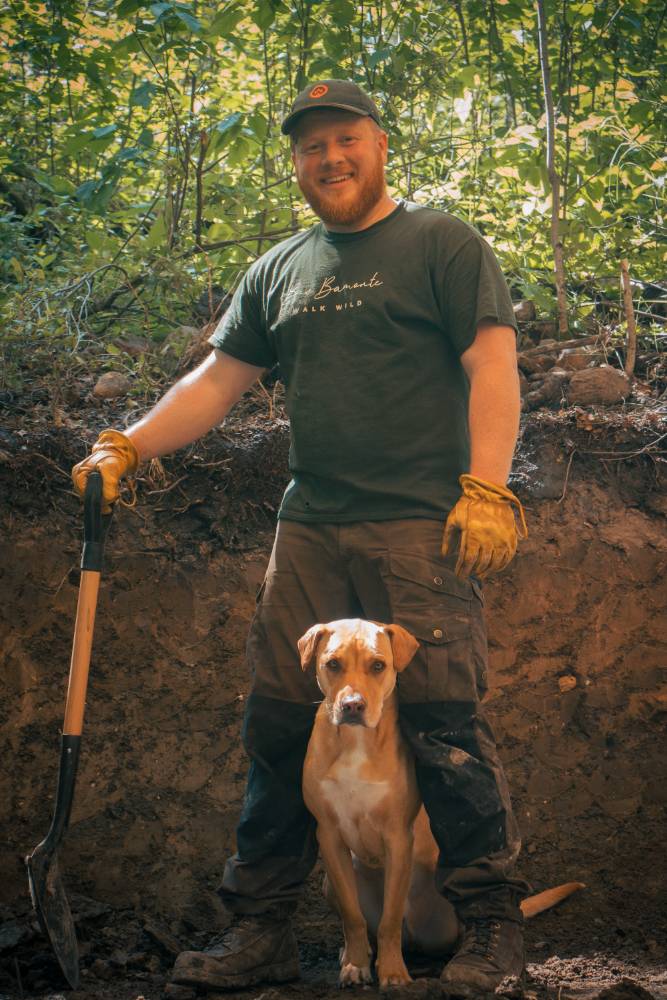
The first stint of digging took around four to five hours before we were exhausted enough that we needed to change pace. We ended up placing a steel fire pit in the ground that we had found buried on Eric’s property earlier that day, and making a small temporary bench for us to relax around the fire whilst we envisioned what the rest of the camp might look like once we finished on the shelter was a nice end to the day.
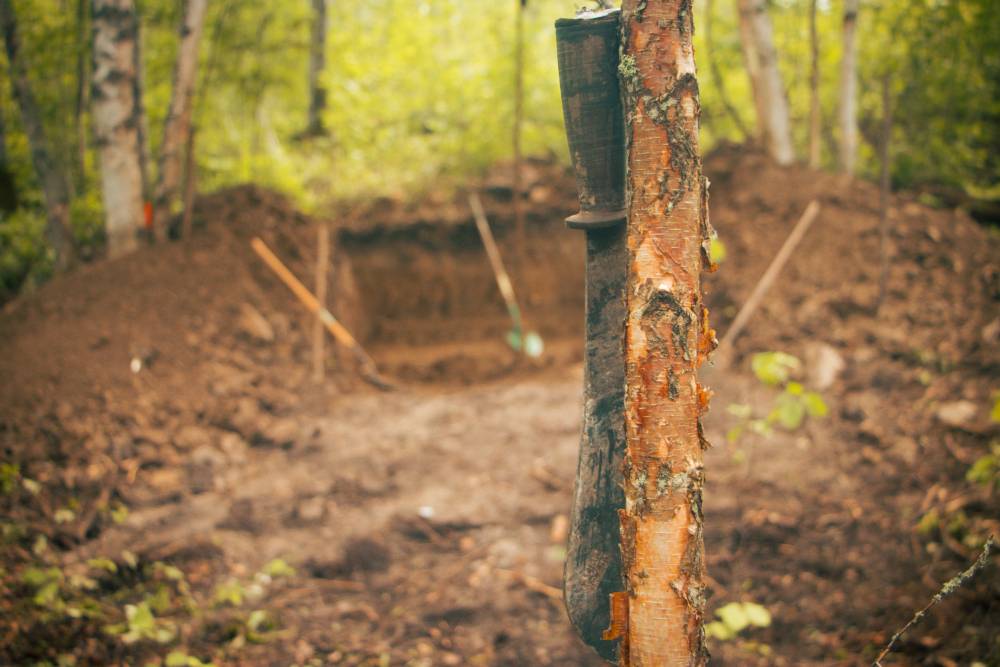
The following day we returned to excavating the dugout shelter. Another four or five hours of work was ahead of us as we got deeper and deeper into the ground. We pulled a ton of stones out of the ground which will be useful later for building fireplaces and other things. In total, I think we probably spend around 10 to 12 hours Excavating the site between the three of us.
Advertisement
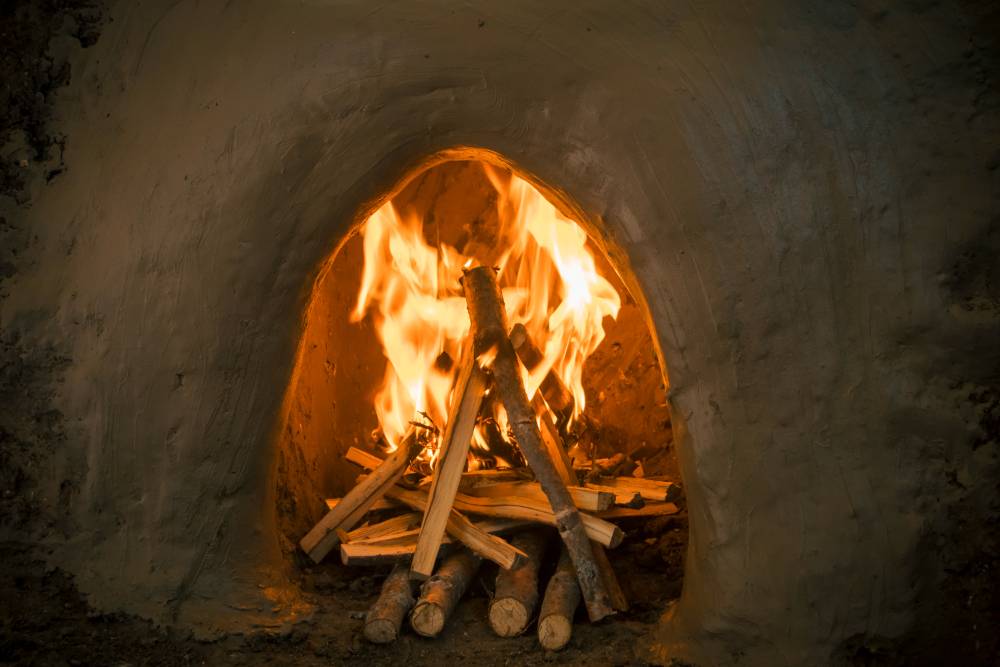
It was probably a little premature to start building a fireplace in the shelter this early on, especially since we haven’t finished excavating the sides of the shelter. We decided to do it because we wanted to experience what it was like to work with clay as a raw building material. When you spend that much time digging a hole in the ground you really start to get excited about doing more creative projects.
Advertisement
Working with clay as a bushcraft building material is extremely therapeutic. Mushing the clay up with water into a paste, and applying it to stick and sapling foundation was really fun too. Smoothing it out with water with super satisfying and I think everyone is looking forward to wattle and daubing the shelter once we get to that stage in the build.
When we were working on the Bushcraft Heroes treehouse we always wanted to work with clay but never really found the right projects to take it on. I’m glad that we got to work with it on this trip and even if the fireplace doesn’t last due to being exposed to the elements, I’d happily rebuild it, and learn more about this building technique.
Advertisement
On the next visit, I’d assumed that we would finish the excavation process for the dugout shelter, and then start thinking about exactly how we want to roof the shelter and build walls. We don’t have a lot of coniferous wood in this forest, which means we don’t have a lot of straight building timber. Most of it is poplar, which is wonky on the best of days so it’s possible we will weave together saplings into some kind of curved roof structure as that’s the type of building materials we have access to.
After seeing how water moves under the topsoil and around the clay, I would imagine we would need to build some kind of water diverting system to make sure that the water that comes down the hill is diverted away from the shelter 2 keep it dry and intact.
We’re all super excited to get back out there and continue work on this project. I’m certainly glad that the backbreaking work is almost finished, and more creative and interesting projects at to come for sure. Make sure to subscribe on YouTube to follow a journey along if you found this article interesting!

Never Miss another Post and stay up to date on Walk Wild adventures.